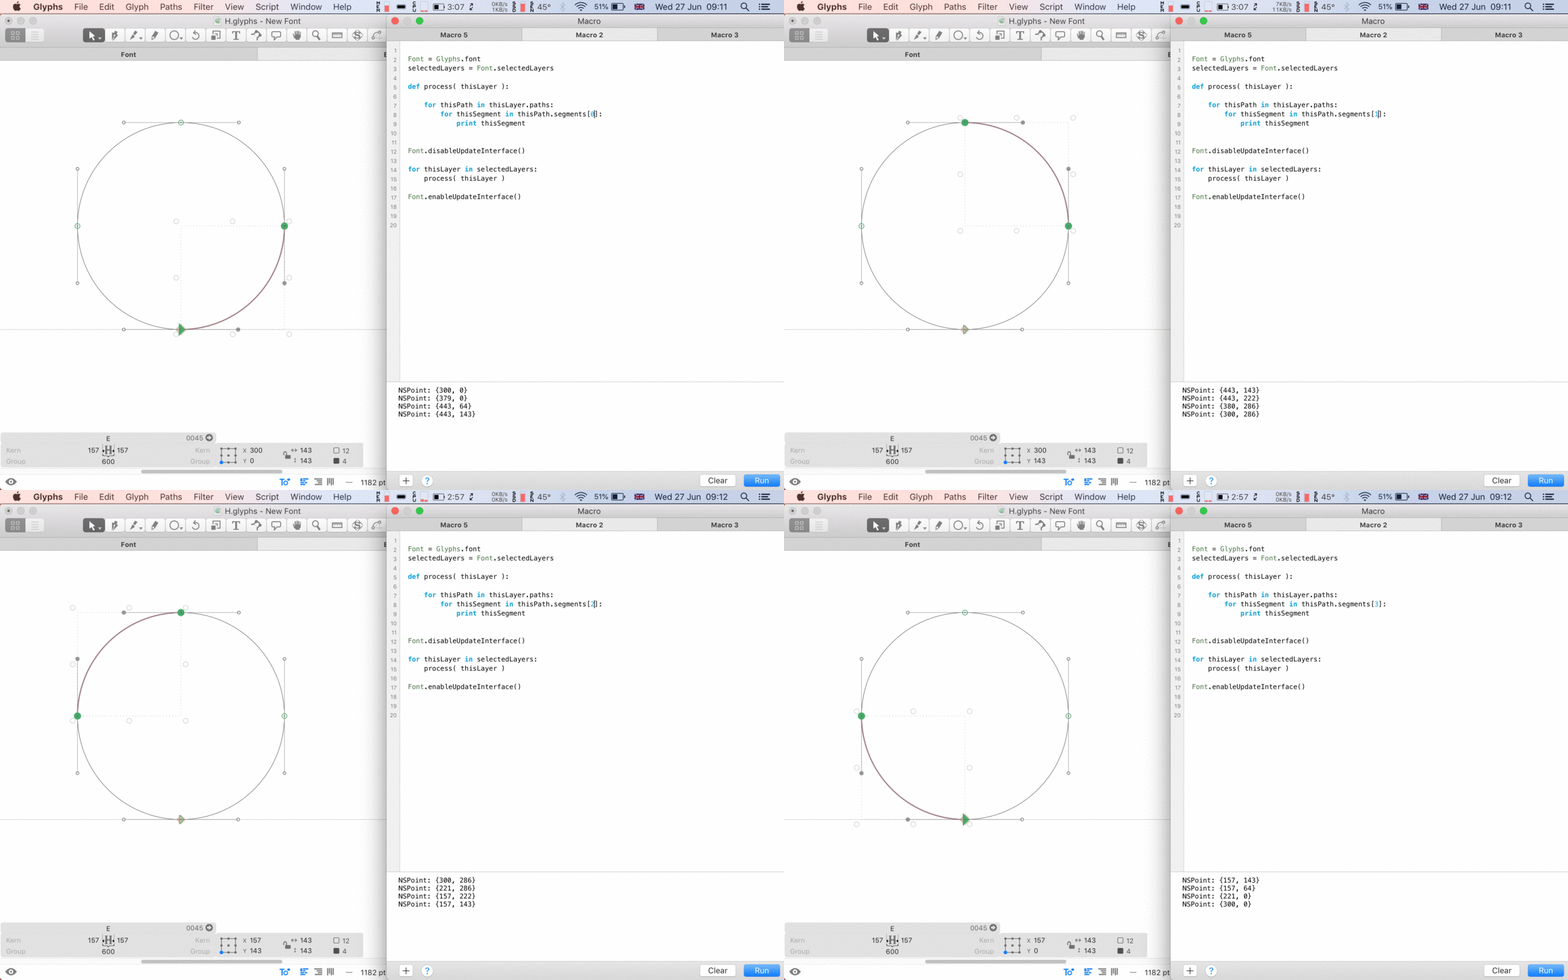
I’ve been playing around with the Skedge snippets and it is really helpful to have the live visual feedback.
However, I am still having difficultly navigating through the NS-Classes and selecting a specific segment index.
Below are snippets which I’ve tried and they seem to get close. SNIPPET 3 selects Index 0 and gives a list of NSPoint objects but I’m unsure how to use it as a path.
I’ve been looking at the AppKit documentation and the link below seems useful ‘Returns the type of path element at the specified index’ but I can’t figure out how to apply it.
func element(at index: Int) -> NSBezierPath.ElementType
https://developer.apple.com/documentation/appkit/nsbezierpath/1520751-element?changes=_5
Any more help/direction would be greatly appreciated
SNIPPET 1
    for path in layer.paths:
        print path
PRINTS
<GSPath 12 nodes and 4 segments>
SNIPPET 2
for path in layer.paths:
    	for segment in path.segments:
    		print segment
PRINTS (a list of segments as NSPoint objects)
(
    "NSPoint: {300, 0}",
    "NSPoint: {379, 0}",
    "NSPoint: {443, 64}",
    "NSPoint: {443, 143}"
)
(
    "NSPoint: {443, 143}",
    "NSPoint: {443, 222}",
    "NSPoint: {380, 286}",
    "NSPoint: {300, 286}"
)
(
    "NSPoint: {300, 286}",
    "NSPoint: {221, 286}",
    "NSPoint: {157, 222}",
    "NSPoint: {157, 143}"
)
(
    "NSPoint: {157, 143}",
    "NSPoint: {157, 64}",
    "NSPoint: {221, 0}",
    "NSPoint: {300, 0}"
)
SNIPPET 3
    for path in layer.paths:
    	for segment in path.segments[0]:
    		print segment
PRINTS
NSPoint: {300, 0}
NSPoint: {379, 0}
NSPoint: {443, 64}
NSPoint: {443, 143}
SNIPPET 4
    for path in layer.paths:
        bp = path.bezierPath
        bp.setLineWidth_(5)
        NSColor.blueColor().set()
    	bp.stroke()
    	print bp
PRINTS
    Path <0x60400553f0e0>
      Bounds: {{157, 0}, {286, 286}}
      Control point bounds: {{157, 0}, {286, 286}}
        300.000000 0.000000 moveto
        379.000000 0.000000 443.000000 64.000000 443.000000 143.000000 curveto
        443.000000 222.000000 380.000000 286.000000 300.000000 286.000000 curveto
        221.000000 286.000000 157.000000 222.000000 157.000000 143.000000 curveto
        157.000000 64.000000 221.000000 0.000000 300.000000 0.000000 curveto
        closepath
        300.000000 0.000000 moveto

