Hello, I wanted to modify a cursive font I made and turn it into a brush version, which essentially means the down strokes are thicker than the up strokes. Is there any way to do it in glyphs? I couldn’t yet find a tutorial online for that.
Thanks in advance for any replies.
Can you show a sample for both?
Yes.
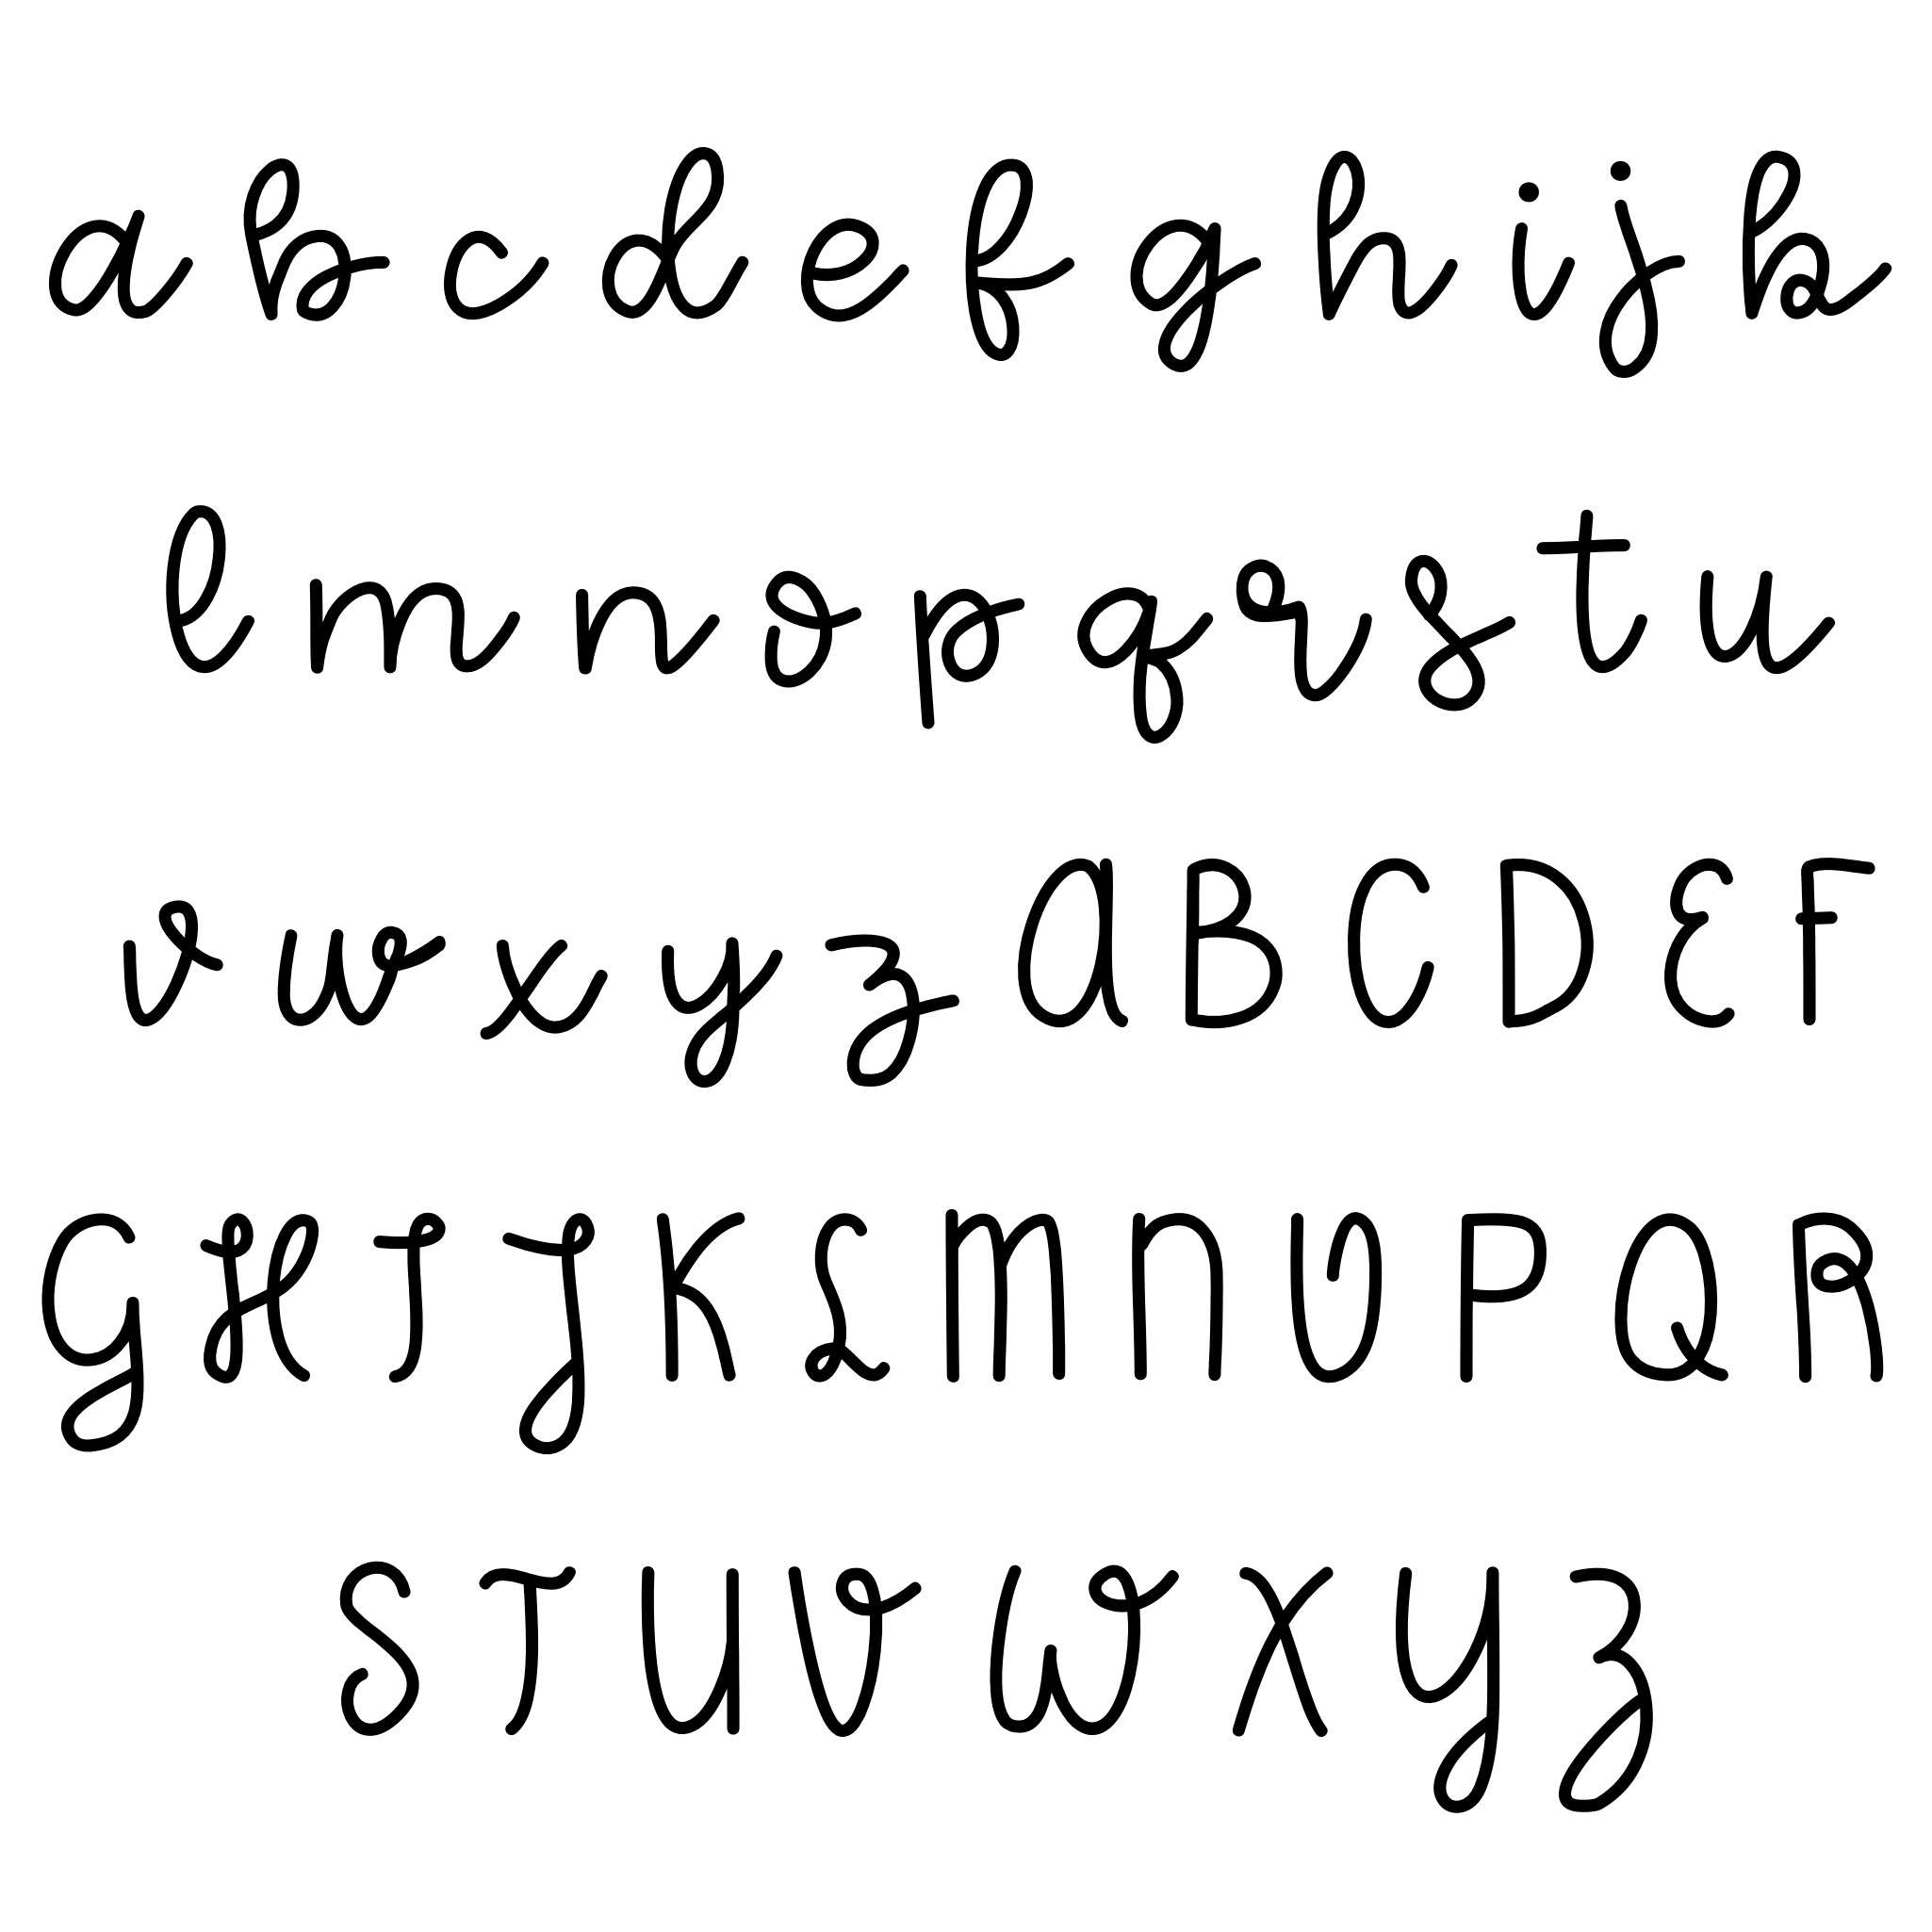
This picture shows the font
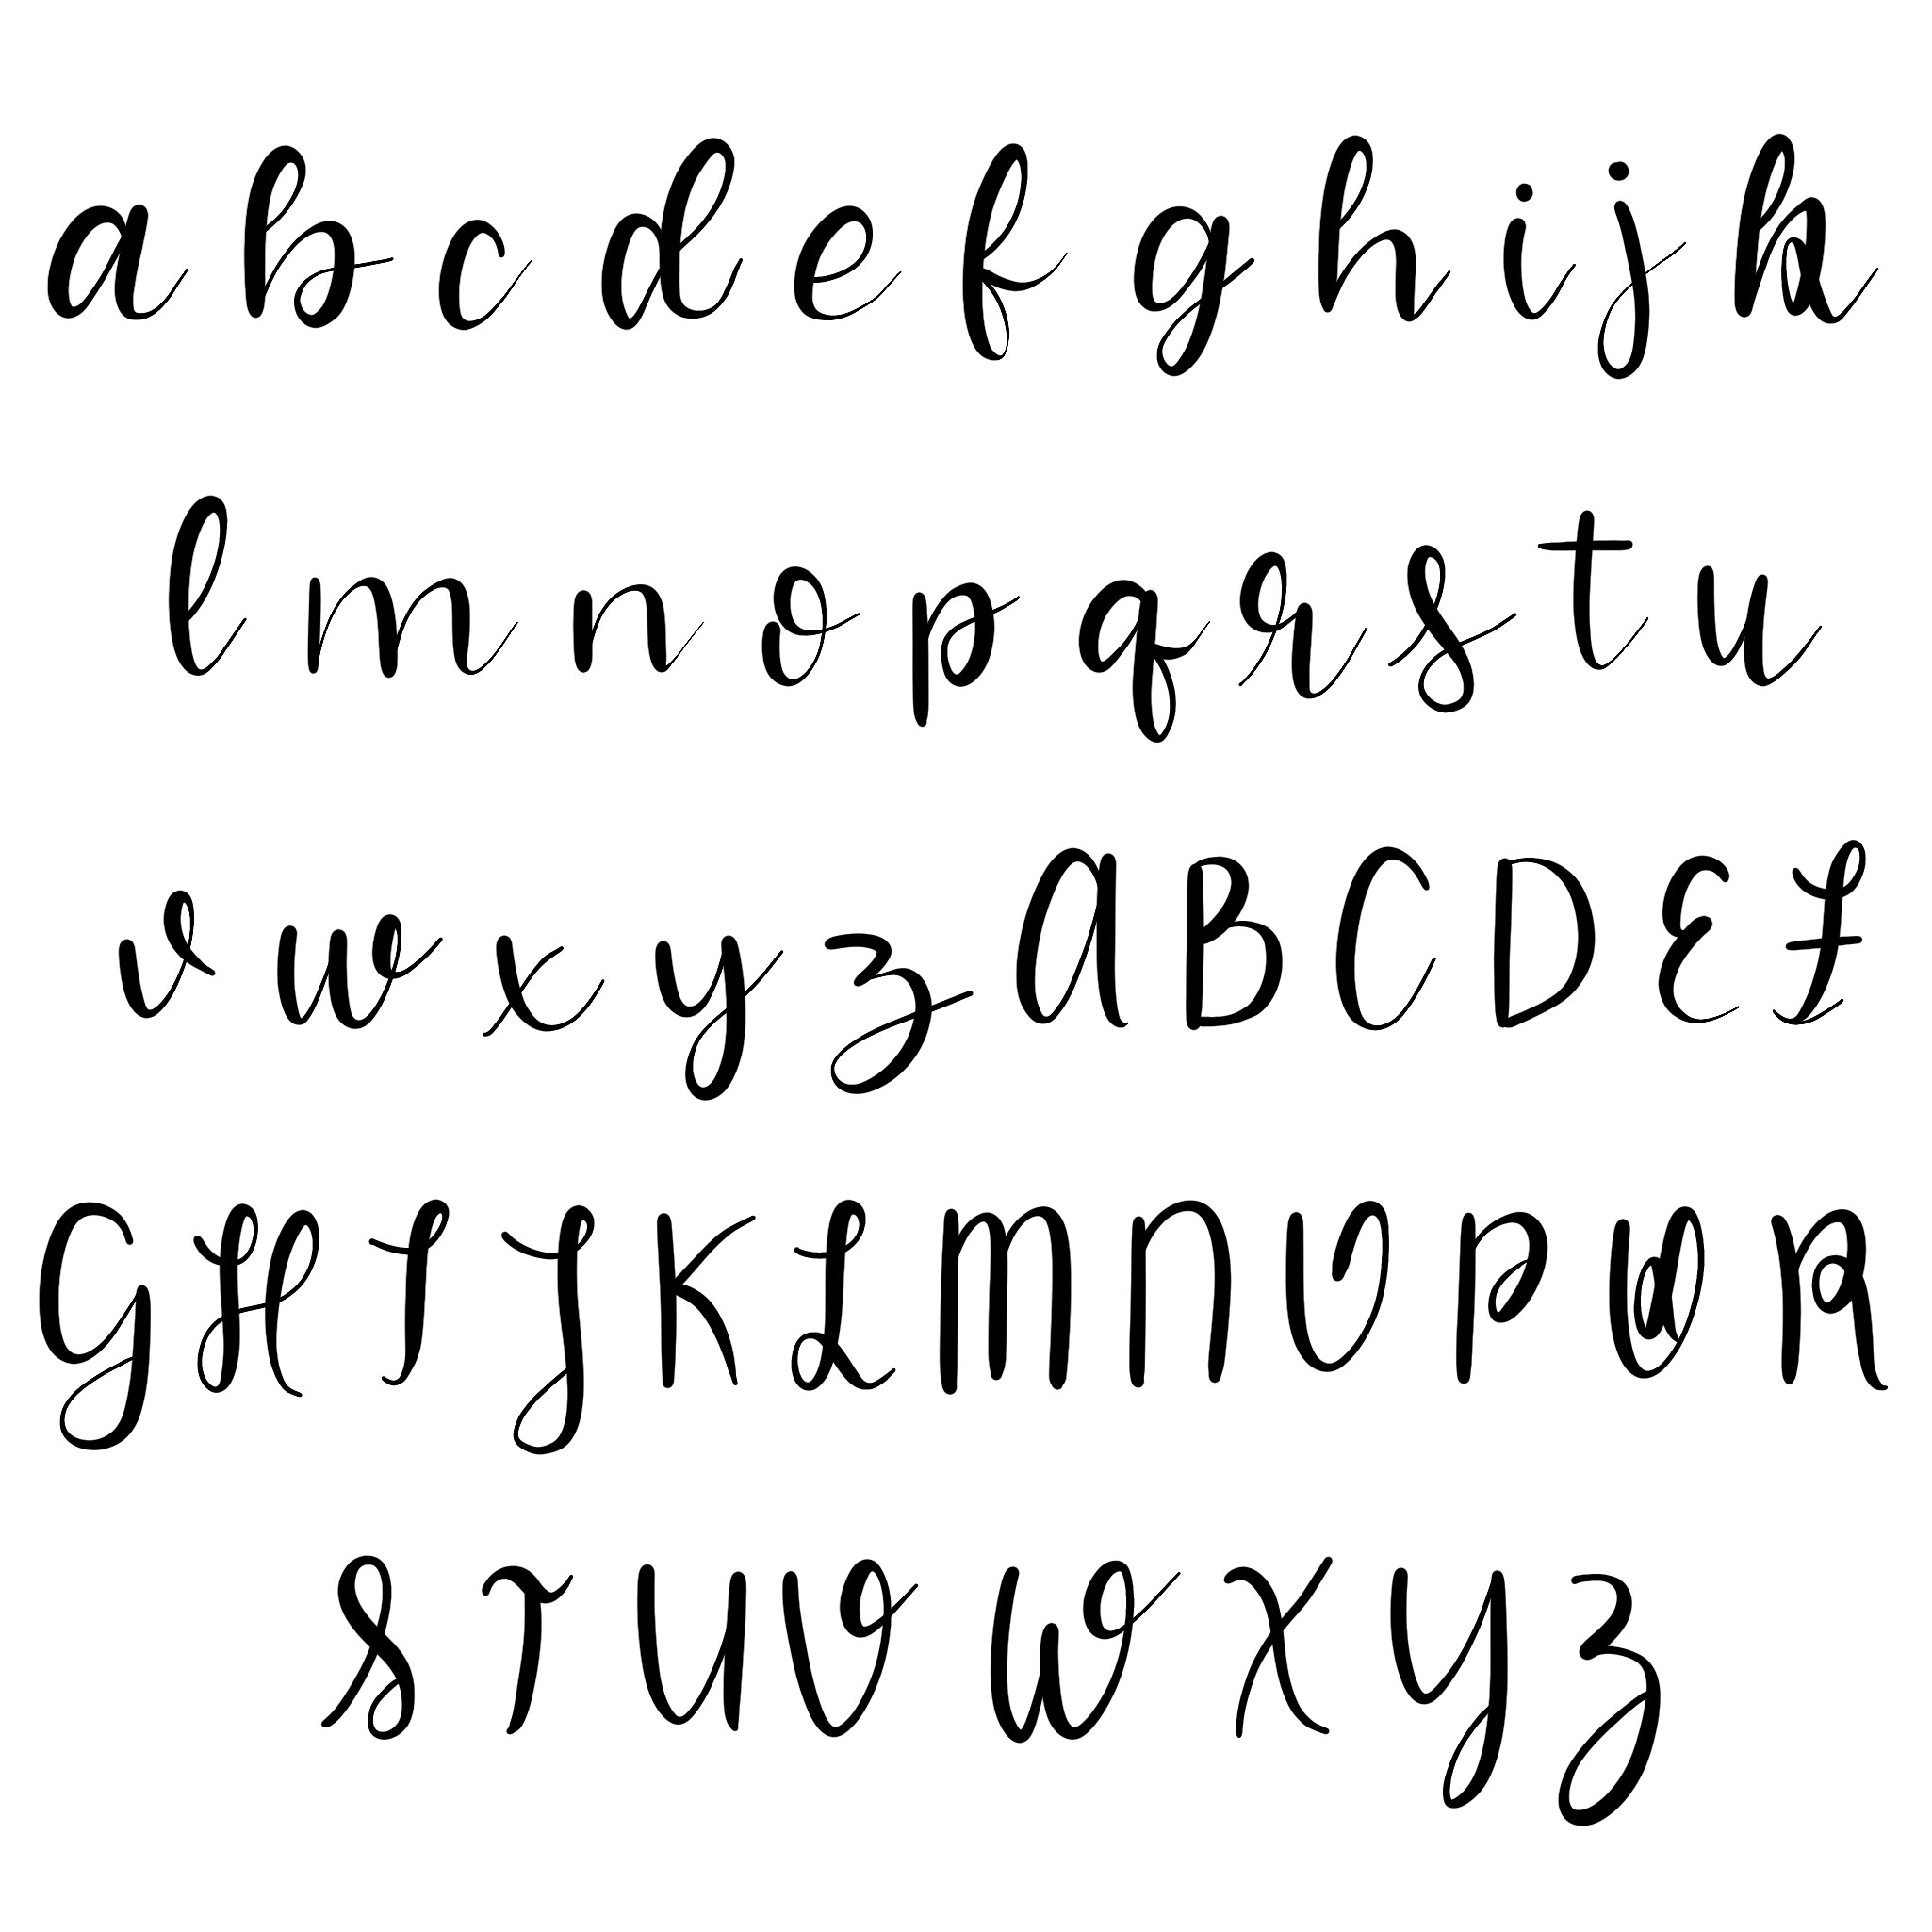
And this picture shows the look I want to achieve, with the downstrokes thicker (I did this using a drawing app called procreate, hence why the characters aren’t an exact copy of the font)
I tried to move just the points on the downstrokes but it didn’t work ![]()
What I want to achieve is to make each character have a different thickness on certain portions of it, hopefully this makes it clearer
Another way to put it is that the current font is monoline, and I want it to have a stroke contrast
You first draw the monoline, and use the stroke function:

Hint: once you found good settings for your strokes, select and right click the path, hold down Ctrl and choose Set Default Attributes from the context menu. All the subsequent drawings will have the same stroke settings.
Once you are done with the monoline, you can either make a copy of your font file before you continue, or a second font master in the same file.
In any event, select the paths, and choose Expand Outlines from the context menu. It should look something like this:

Now you can nudge (Ctrl-Opt-move) points to make some parts thicker and others thinner:

Where the thicks and thins start depends on the positions of the points.
Or have a look at LTTR/INK. It has a more sophisticated way of controlling the transitions from thicks to thins without sacrificing the center stroke.
That sounds interesting!
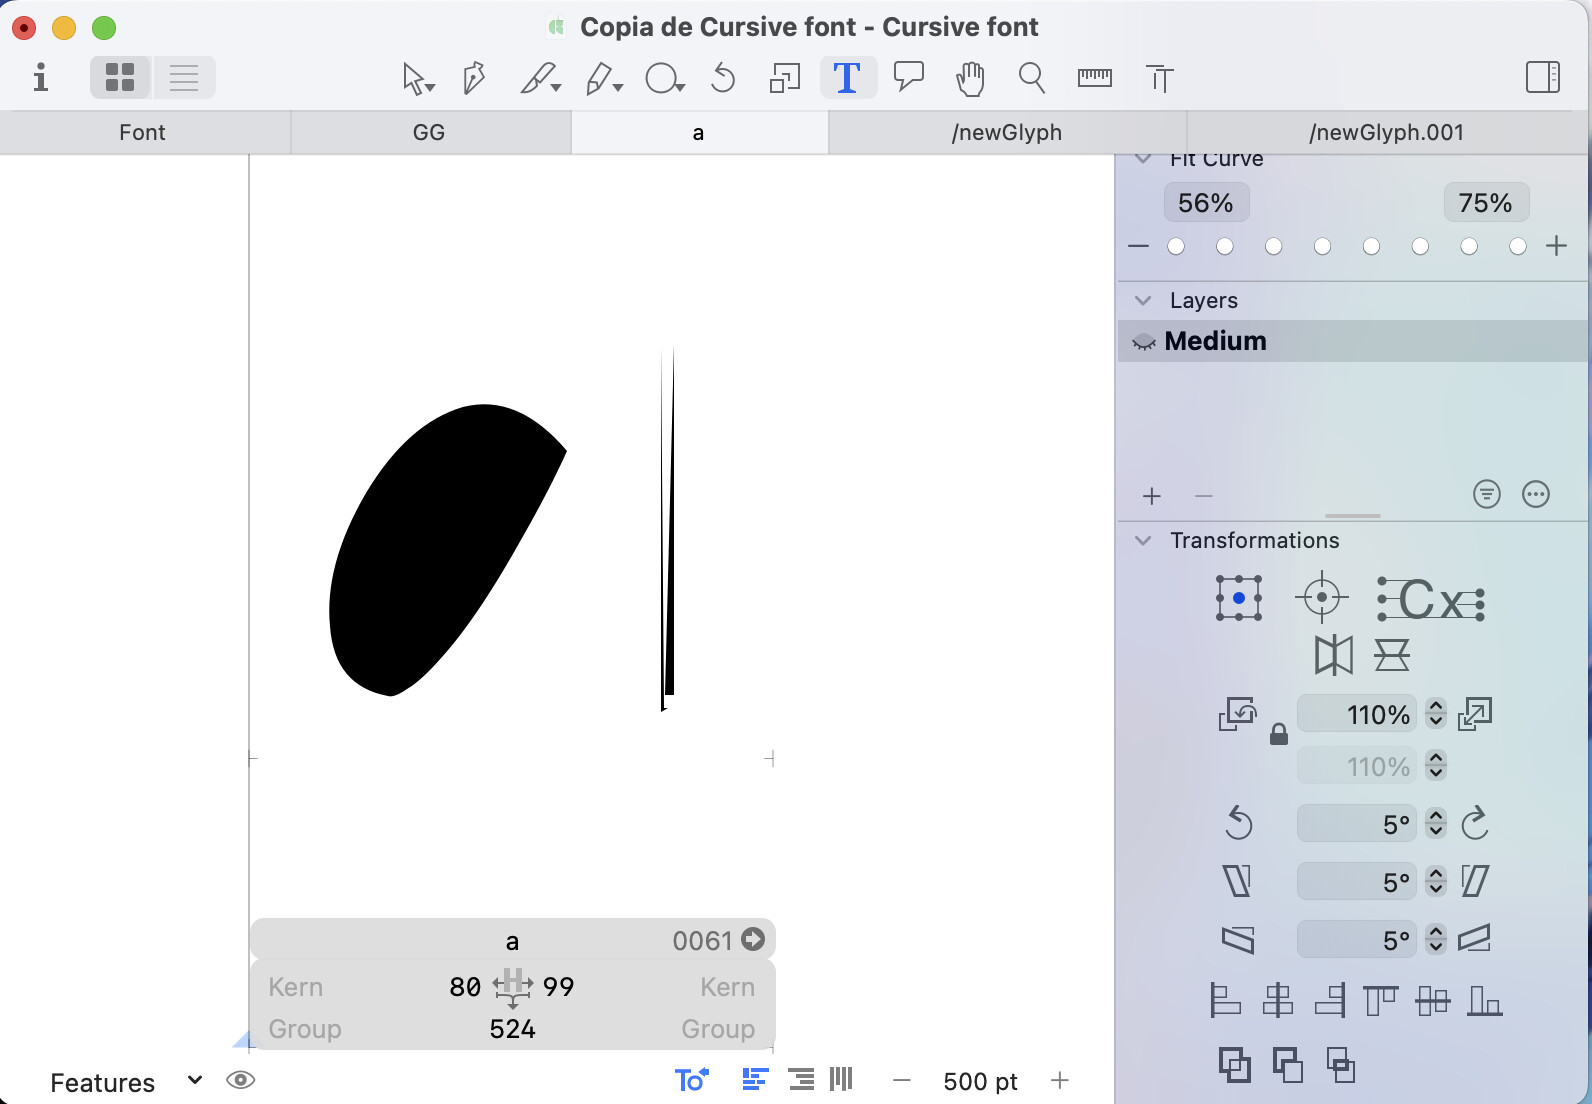
That leads me to a whole separate issue where I can’t add strokes to my font without it being weird (I don’t know the reason, nor do I know if it has something to do with the fact that it was made on another app and only some details were added using glyphs) the issue is shown below

Normal glyph

Strokes added
Final result
I may need to redo the whole font depending on this issue
I did try making a glyph on a vector program and then pasting it and the stroke sort of worked? But there are WAY too many paths. When expanded it also leaves many paths, which makes it extremely difficult to create the thicker strokes

Your outlines use quadratic curves, which are harder to edit, and many operations don’t work on them outright. Try converting all glyphs to cubic outlines via Paths > Other > Convert To Cubic.
That worked great, thanks!
(Now it’s time to do the effect on each glyph separately, I imagine it would be nice to have a feature to apply it too all glyphs automatically)
If you mean converting the paths all at once, I think you can select all the glyphs in the Font tab and then menu-selected commands will apply to all (on that layer) at once.
There’s no easy automatic way to get good smooth center paths for existing outlines. Those need to be drawn and adjusted to how you need them.