
I already tried “Reverse Contours” but it still not work
The inner path needs to run in the opposite direction. Outermost paths should always be counterclockwise and inner paths should be clockwise. If you’re nesting more paths inside of the inner paths, they need to continue the pattern of alternating between counterclockwise and clockwise.
You don’t usually need to think about the path directions or set them manually. You can just use Path > Correct Path Direction, which will work in most cases. Memorize the keyboard shortcut as you’ll use it often.
1 Like
Have a look at this tutorial, particularly the Path orientation and order section:
1 Like

Path > Correct Path Direction.
And what kind of visualization is this? A plugin?
I tried Correct Path Direction but it still doesn’t work
Please disable plug-ins and take another screenshot. There is something turned on in the bottom part of the View menu for visualizing nodes and handles as circles. I don’t know that plug-in but it prevents Glyphs from indicating path directions.
Or send me the file.
1 Like
Thank you so much!!!
The file is in the drive I attached here
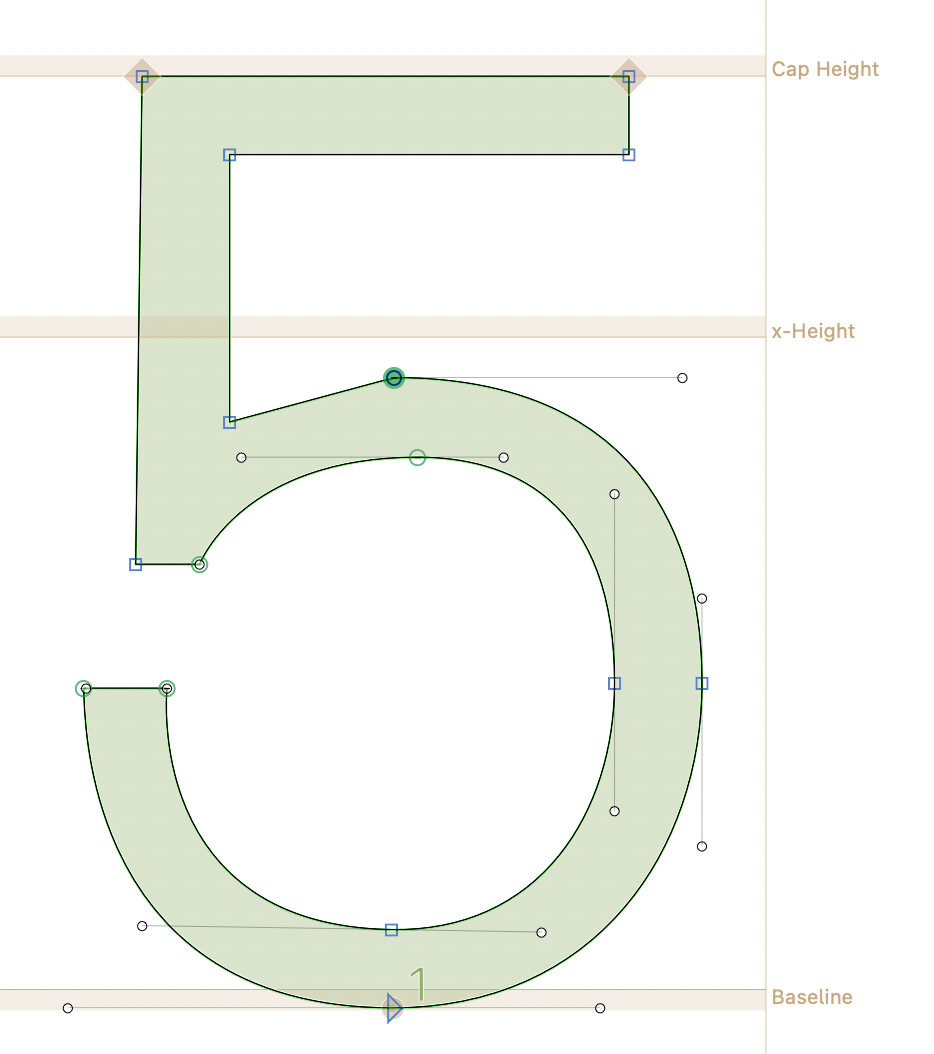
This is what the glyph looks like when there are no additional reporter plugins active:
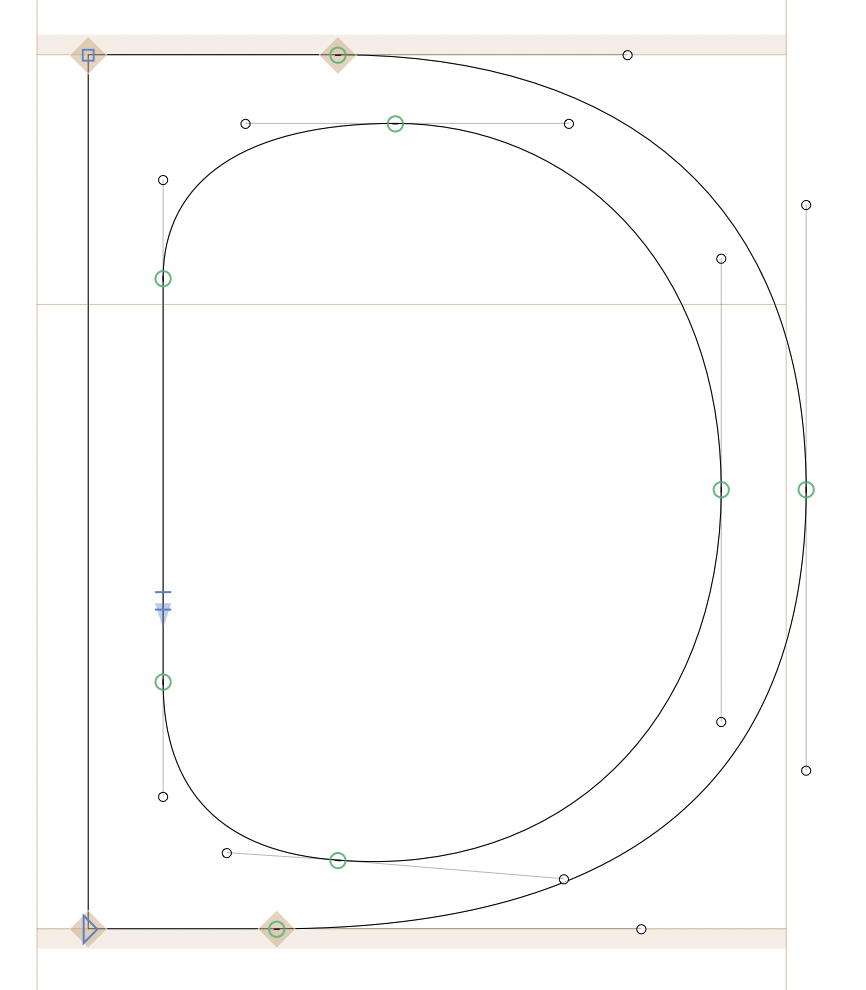
The triangle node ![]() is the start node of a closed path and it indicates the path direction. The inner path has no such node because it is not closed (meaning the end node connects to the start node). You can see this by dragging the start node of the inner path to the side:
is the start node of a closed path and it indicates the path direction. The inner path has no such node because it is not closed (meaning the end node connects to the start node). You can see this by dragging the start node of the inner path to the side:

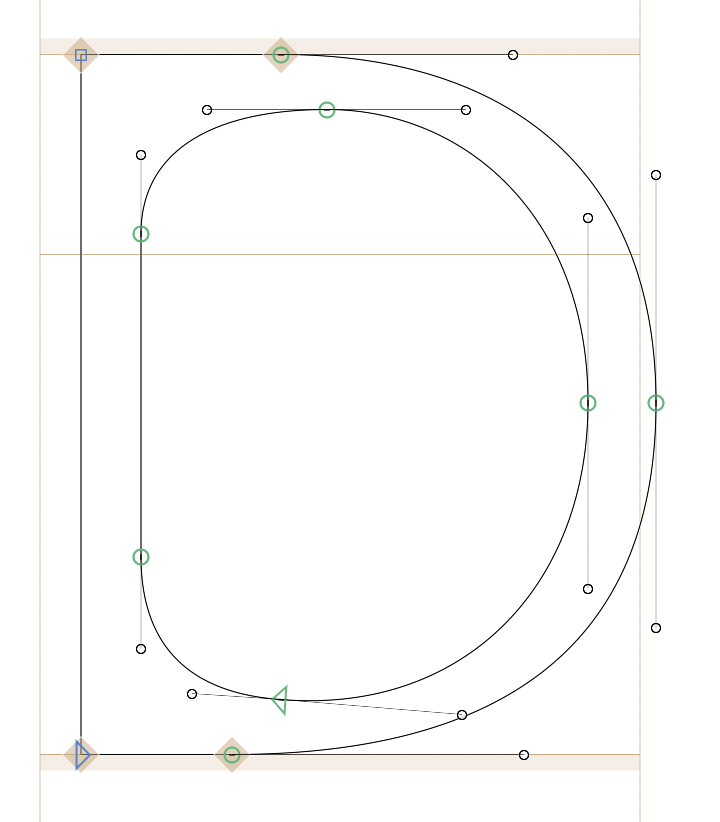
Drag the end node to the position of the start node (or vice versa) and the path with be closed:

Now, you can correct the path direction as described in the posts above:

Pressing the space bar to preview the shape now shows this:

In fact, you can delete the newly-connected node of the inner path as it is not changing the shape of the path:
Thank you for helping,
But when I diasbled the Plugin “Show Master Compatibility”, I cannot see the node anymore ![]()

View > Show Nodes.
Select the single off curve node and press Tab or Shift+Tab to move the selection to the next/previous node. Then use the arrow keys to move the node out under the on curve node.
How did you make the curves? Consider the filter Fix Zero Handles.