Hello all! I’m a hobbyist with an Axidraw plotter, looking to use fonts of my own creation for use with the plotter, both for lettering and rendering generative work. After a good deal of research and experimentation, I’ve managed to come up with a workflow that I think is satisfactory.
I think that this approach may also help others with similar questions; I was greatly helped in my search by other topics about single-stroke typefaces and CNC usage.
The most straightforward option — putting the closing anchor far outside the glyph boundary — didn’t appeal to me because it meant I couldn’t preview my work accurately in real time. My intention to use this font to set large blocks of ‘text’ also meant that selecting and finding these anchors would be a chore. Setting all of the text inside the Glyphs Text preview was also unworkable, as I want to eventually be able to do things like layer text fields over one another. I could not figure out a way to generate .otfs without the paths being automatically closed (either by the renderer or by glyphs), and I do not have the programming knowledge to parse and modify .otfs on my own.
So I thought I’d share my workflow in the hopes that others will find it useful. Here are the tools I used:
- Glyphs.app
- FontForge
- Inkscape with Hershey Text plugin
- Sublime Text with the RegReplace (facelessuser.github[dot]io/RegReplace/) plugin
-
I start with the Monoline workflow in the relevant Glyphs Tutorial glyphsapp[dot]com/tutorials/monoline). However, I make two instances: Monoline and Preview. Preview will end up as an .otf font that I can install directly on my system, and Monoline will be an .svg-format (yes, the outdated and almost totally unused format) font, which will be used by Hershey Text in the final steps.
-
After I have created my font in Glyphs, I generate my Preview font as an .otf with the offset curve filter and install it on my system. I export the Monoline font as a .ufo file.
-
I open up the .ufo file in FontForge. The only use I have for FontForge here is to export as an SVG font[1]. I choose File menu → Generate Fonts, Select “SVG Font,” and then click options. I unchecked everything that would possibly modify or ‘fix’ my font. The resulting .svg font is once again full of closed paths—unusable for my purpose — but in a format that I know how to manipulate. I open the .svg file in a text editor. The file is full of letter data in svg path format like this:
<glyph glyph-name="A" unicode="A" horiz-adv-x="960" d="M280 388h415zM110 0l370 1020l370 -1020z"> -
If you have a font with only a few characters it may be quicker to simply do this step manually and skip step 6. Just remove any z characters inside the d attribute of each character:
<glyph glyph-name="A" unicode="A" horiz-adv-x="960" d="M280 388h415M110 0l370 1020l370 -1020"> -
I have a font with a lot of characters, so I make use of RegReplace to find and remove all instances of z (the path-closing command) inside the d attributes.
I have this setting active inside the RegReplace Settings:"selection_only": true,
My replace rules look like this:
  {
        "format": "3.0",
        "replacements": {
              "remove_pathclose": {
                    "find": "z",
                    "replace": "",
                    "greedy": true,
                },
                "svg_path": {
                    "find": "([\\s]d=\"[^\"]+\")",
                    "greedy": true
                }
        }
  }
and my commands for RegReplace look like this:
  [
        {
              "caption": "Remove SVG close path",
              "command": "reg_replace",
              "args": {
                    "replacements": ["remove_pathclose"],
              },
        },
        {
              "caption": "find SVG Paths",
              "command": "reg_replace",
              "args": {
                    "replacements": ["svg_path"],
                    "action": "select"
              },
        }
  ]
This way, all I have to do is open up Sublime’s command Palette and run find SVG Paths and then Remove SVG Close Path.
-
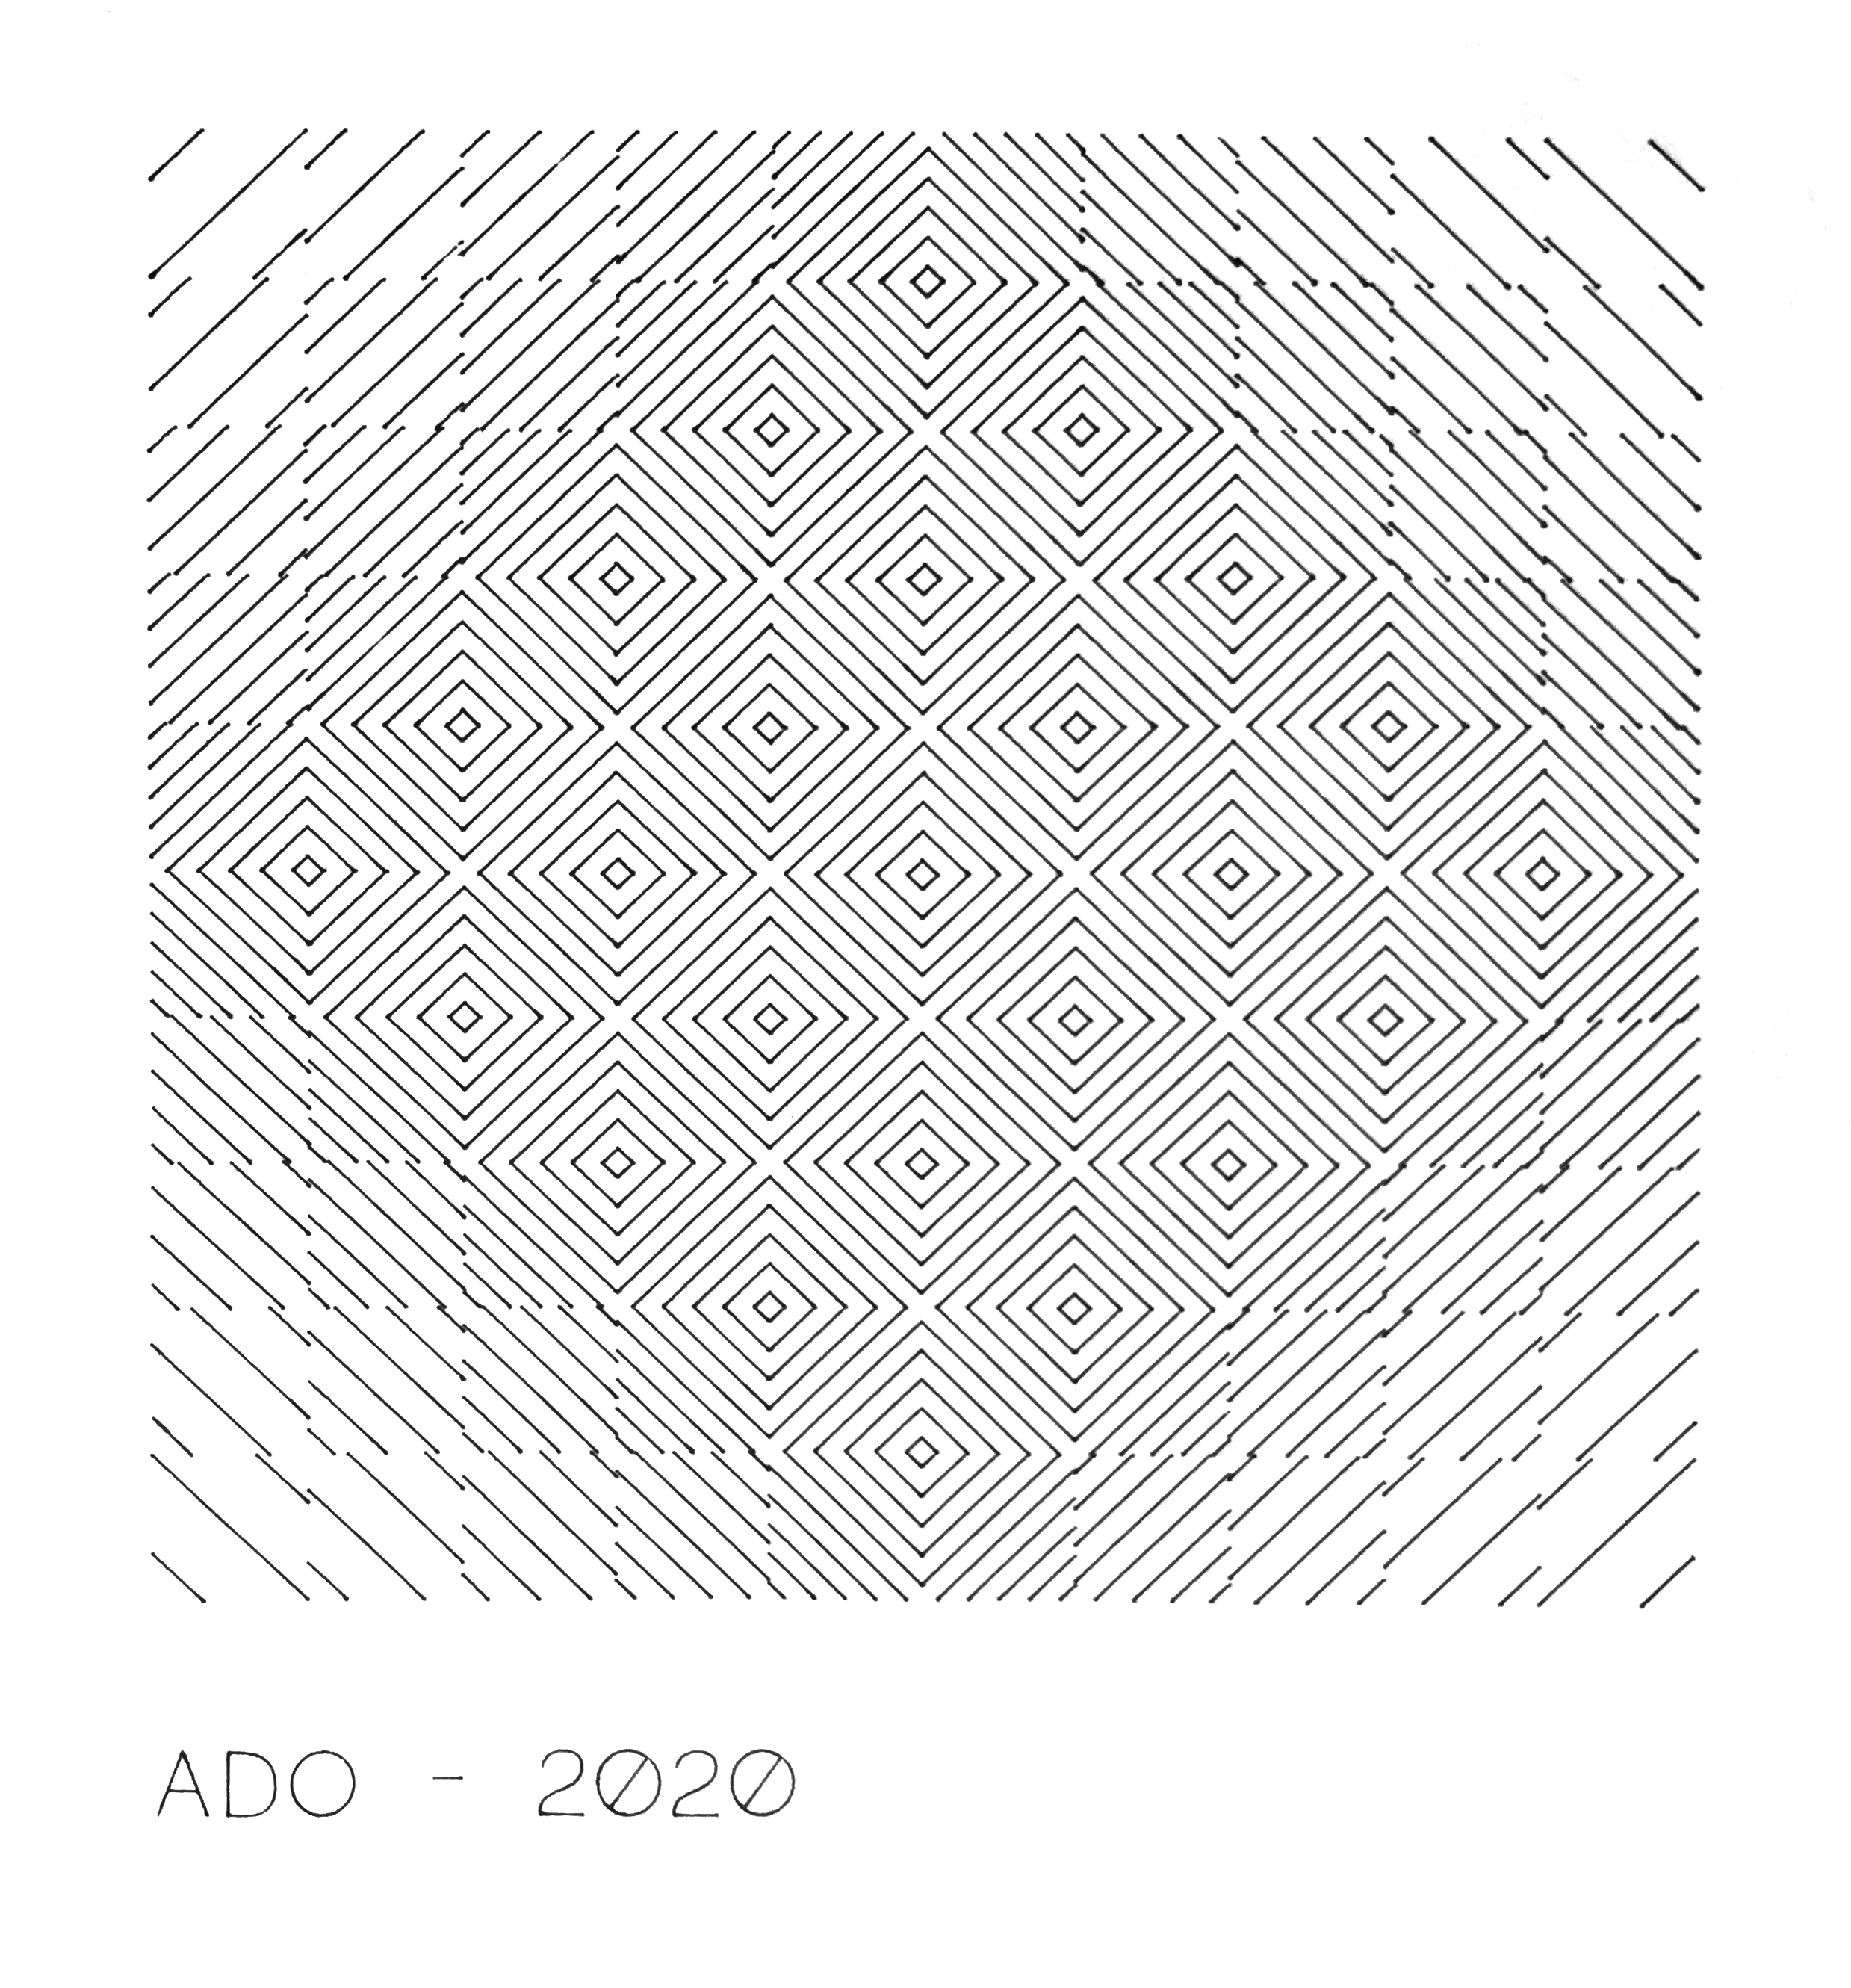
At this point, everything is ready to go. I launch Inkscape and lay out my text[2] as I desire, using the Preview font to see my layout exactly as it will be rendered. In this example, the geometric pattern is rendered through my Preview font, which is 1000x1000, no sidebearings or descenders
-
Inside the Finder, I navigate to my svg font, right-click and hold option to copy its Pathname. Inside Inkscape, I select each text field and choose the Extensions menu → Axidraw Utilities → Hershey Text. I choose “Other (given below)” in the Font face menu. Then, inside Name/Path I paste the Pathname I just copied.
-
I click Apply inside the Hershey Text dialog, and then I’m finished — I have an Inkscape file ready for export as an SVG to any other program! Or, I can print to my plotter directly from within Inkscape.
Final Result ( pardon the uneven print- just a test for example purposes)
[1] The most obvious tool capable of exporting SVG fonts that I saw was Robofont + Batch, but unfortunately it did not work at all for me and the relevant Batch functionality is apparently not long for this world (see github[dot]com/typemytype/batchRoboFontExtension/issues/47 . Birdfont also has SVG export but has limited import and saving options. They may work for you.
[2] For ease of use, grab an installation of Inkscape with Axidraw utilities (which includes Hershey Text) pre-installed at the Axidraw Website. I would preferably be doing my layout in Illustrator, but unfortunately Hershey Text errors out on the SVGs that Illustrator creates. This will probably be my next focus of research on this topic.
Apologies for the mangled URLs and lack of images, the forum software prevented me from adding more.