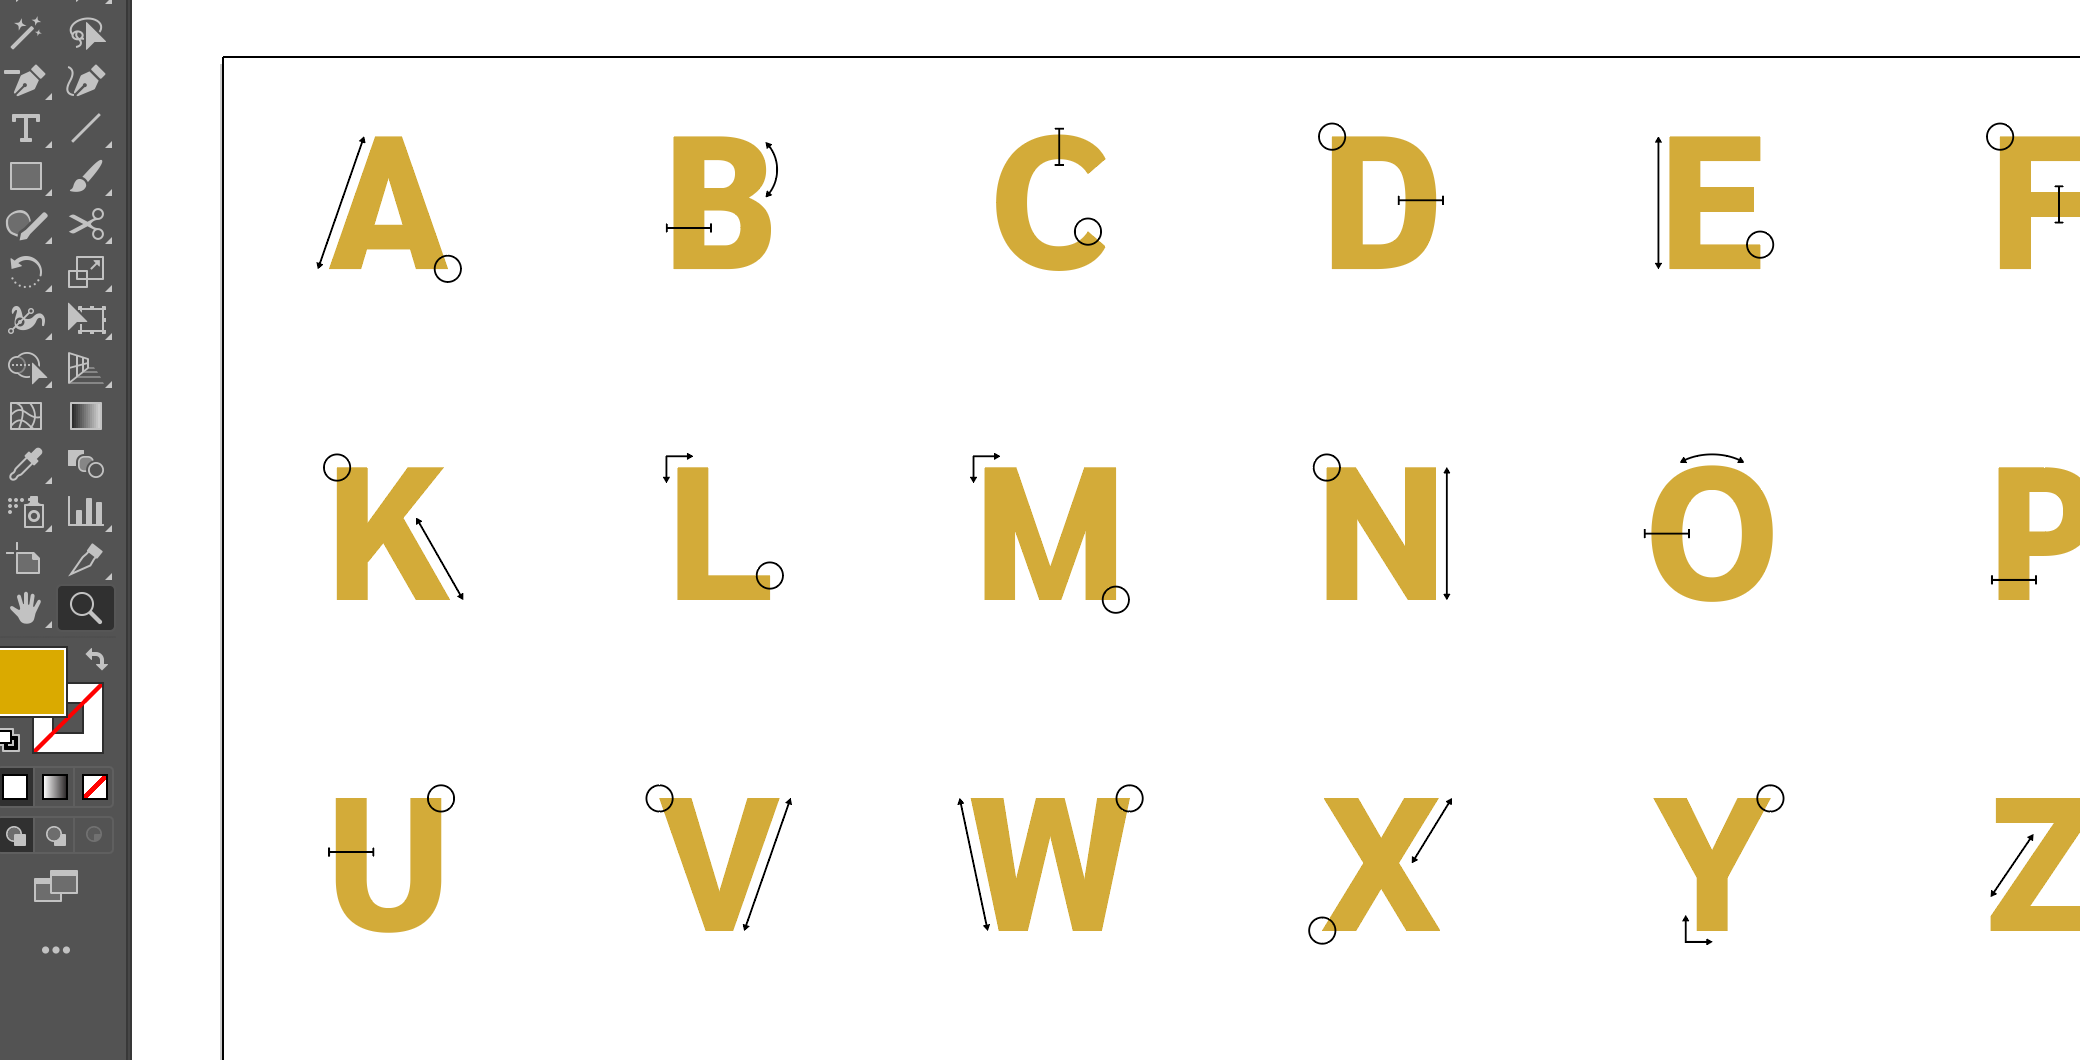
Hello, I was wondering if someone could explain to me how I can change the color of certain elements of a letter.
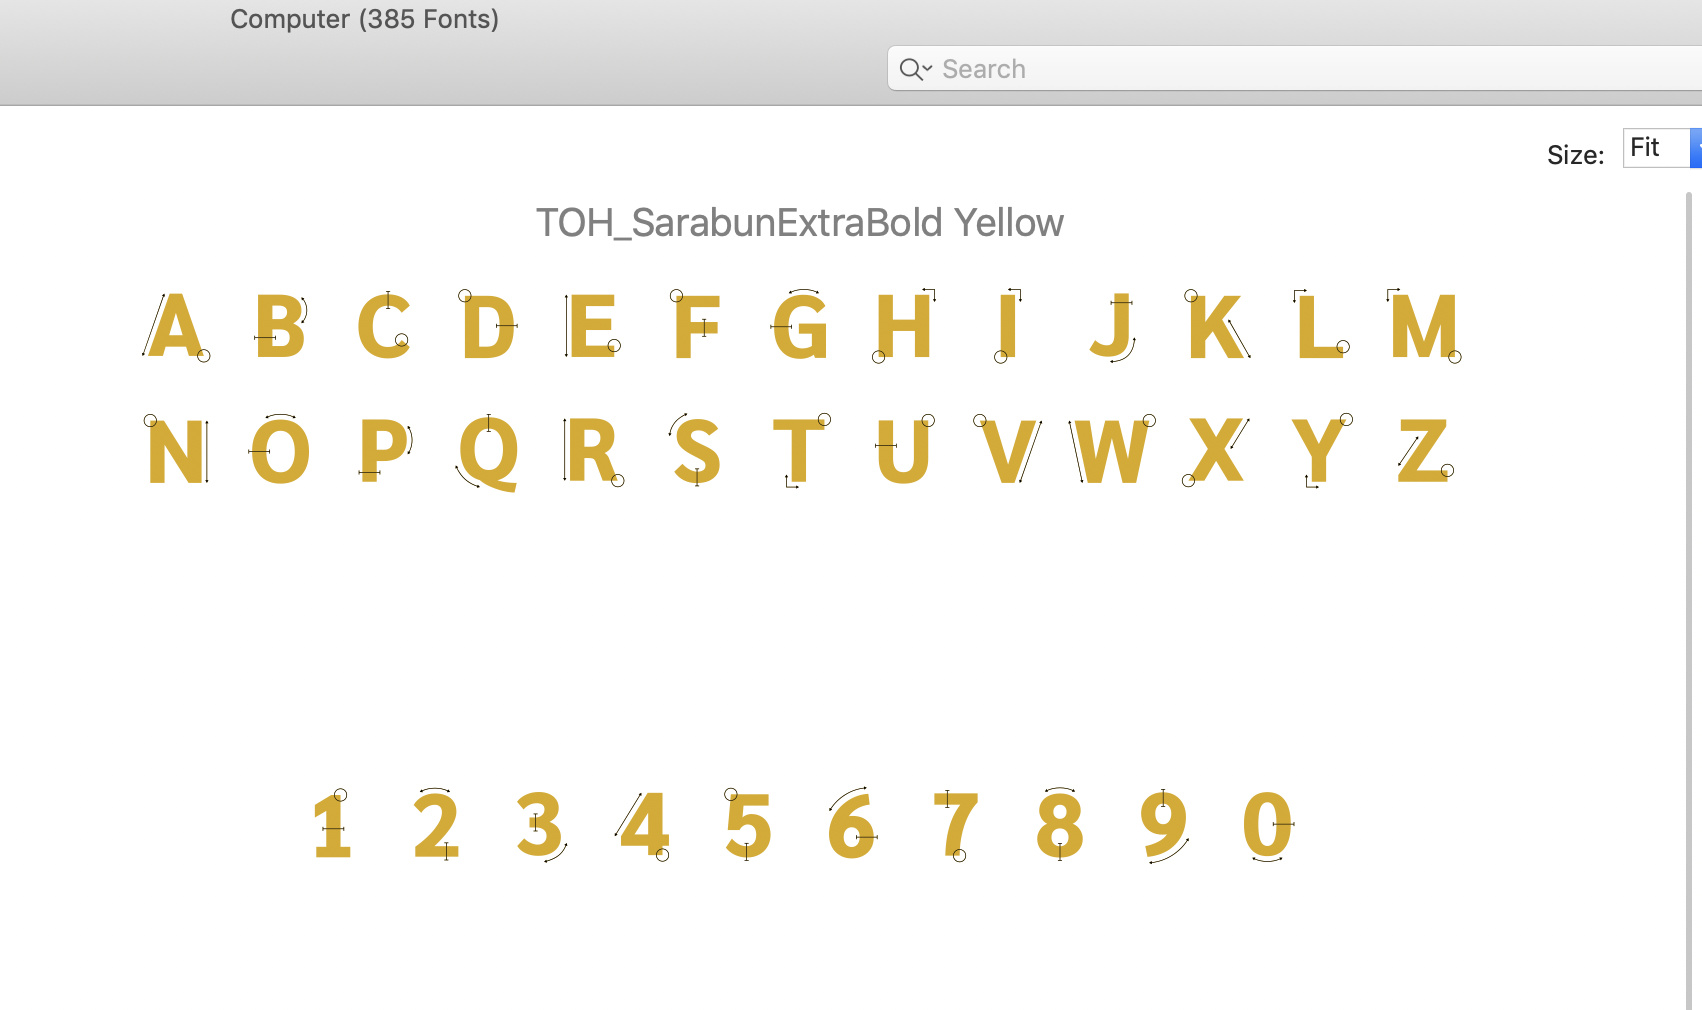
I designed the font in Illustrator, but when I move it to Glyphs, I don’t know how to create separate color layers for the yellow letter and the black details. Currently, the entire font is black in Glyphs. Here is the original design from Illustrator.
Thank you, Georg. Does this mean that I need to build the font completely in Glyphs? Or is it possible to paste from Illustrator and then individually edit the color of certain elements?
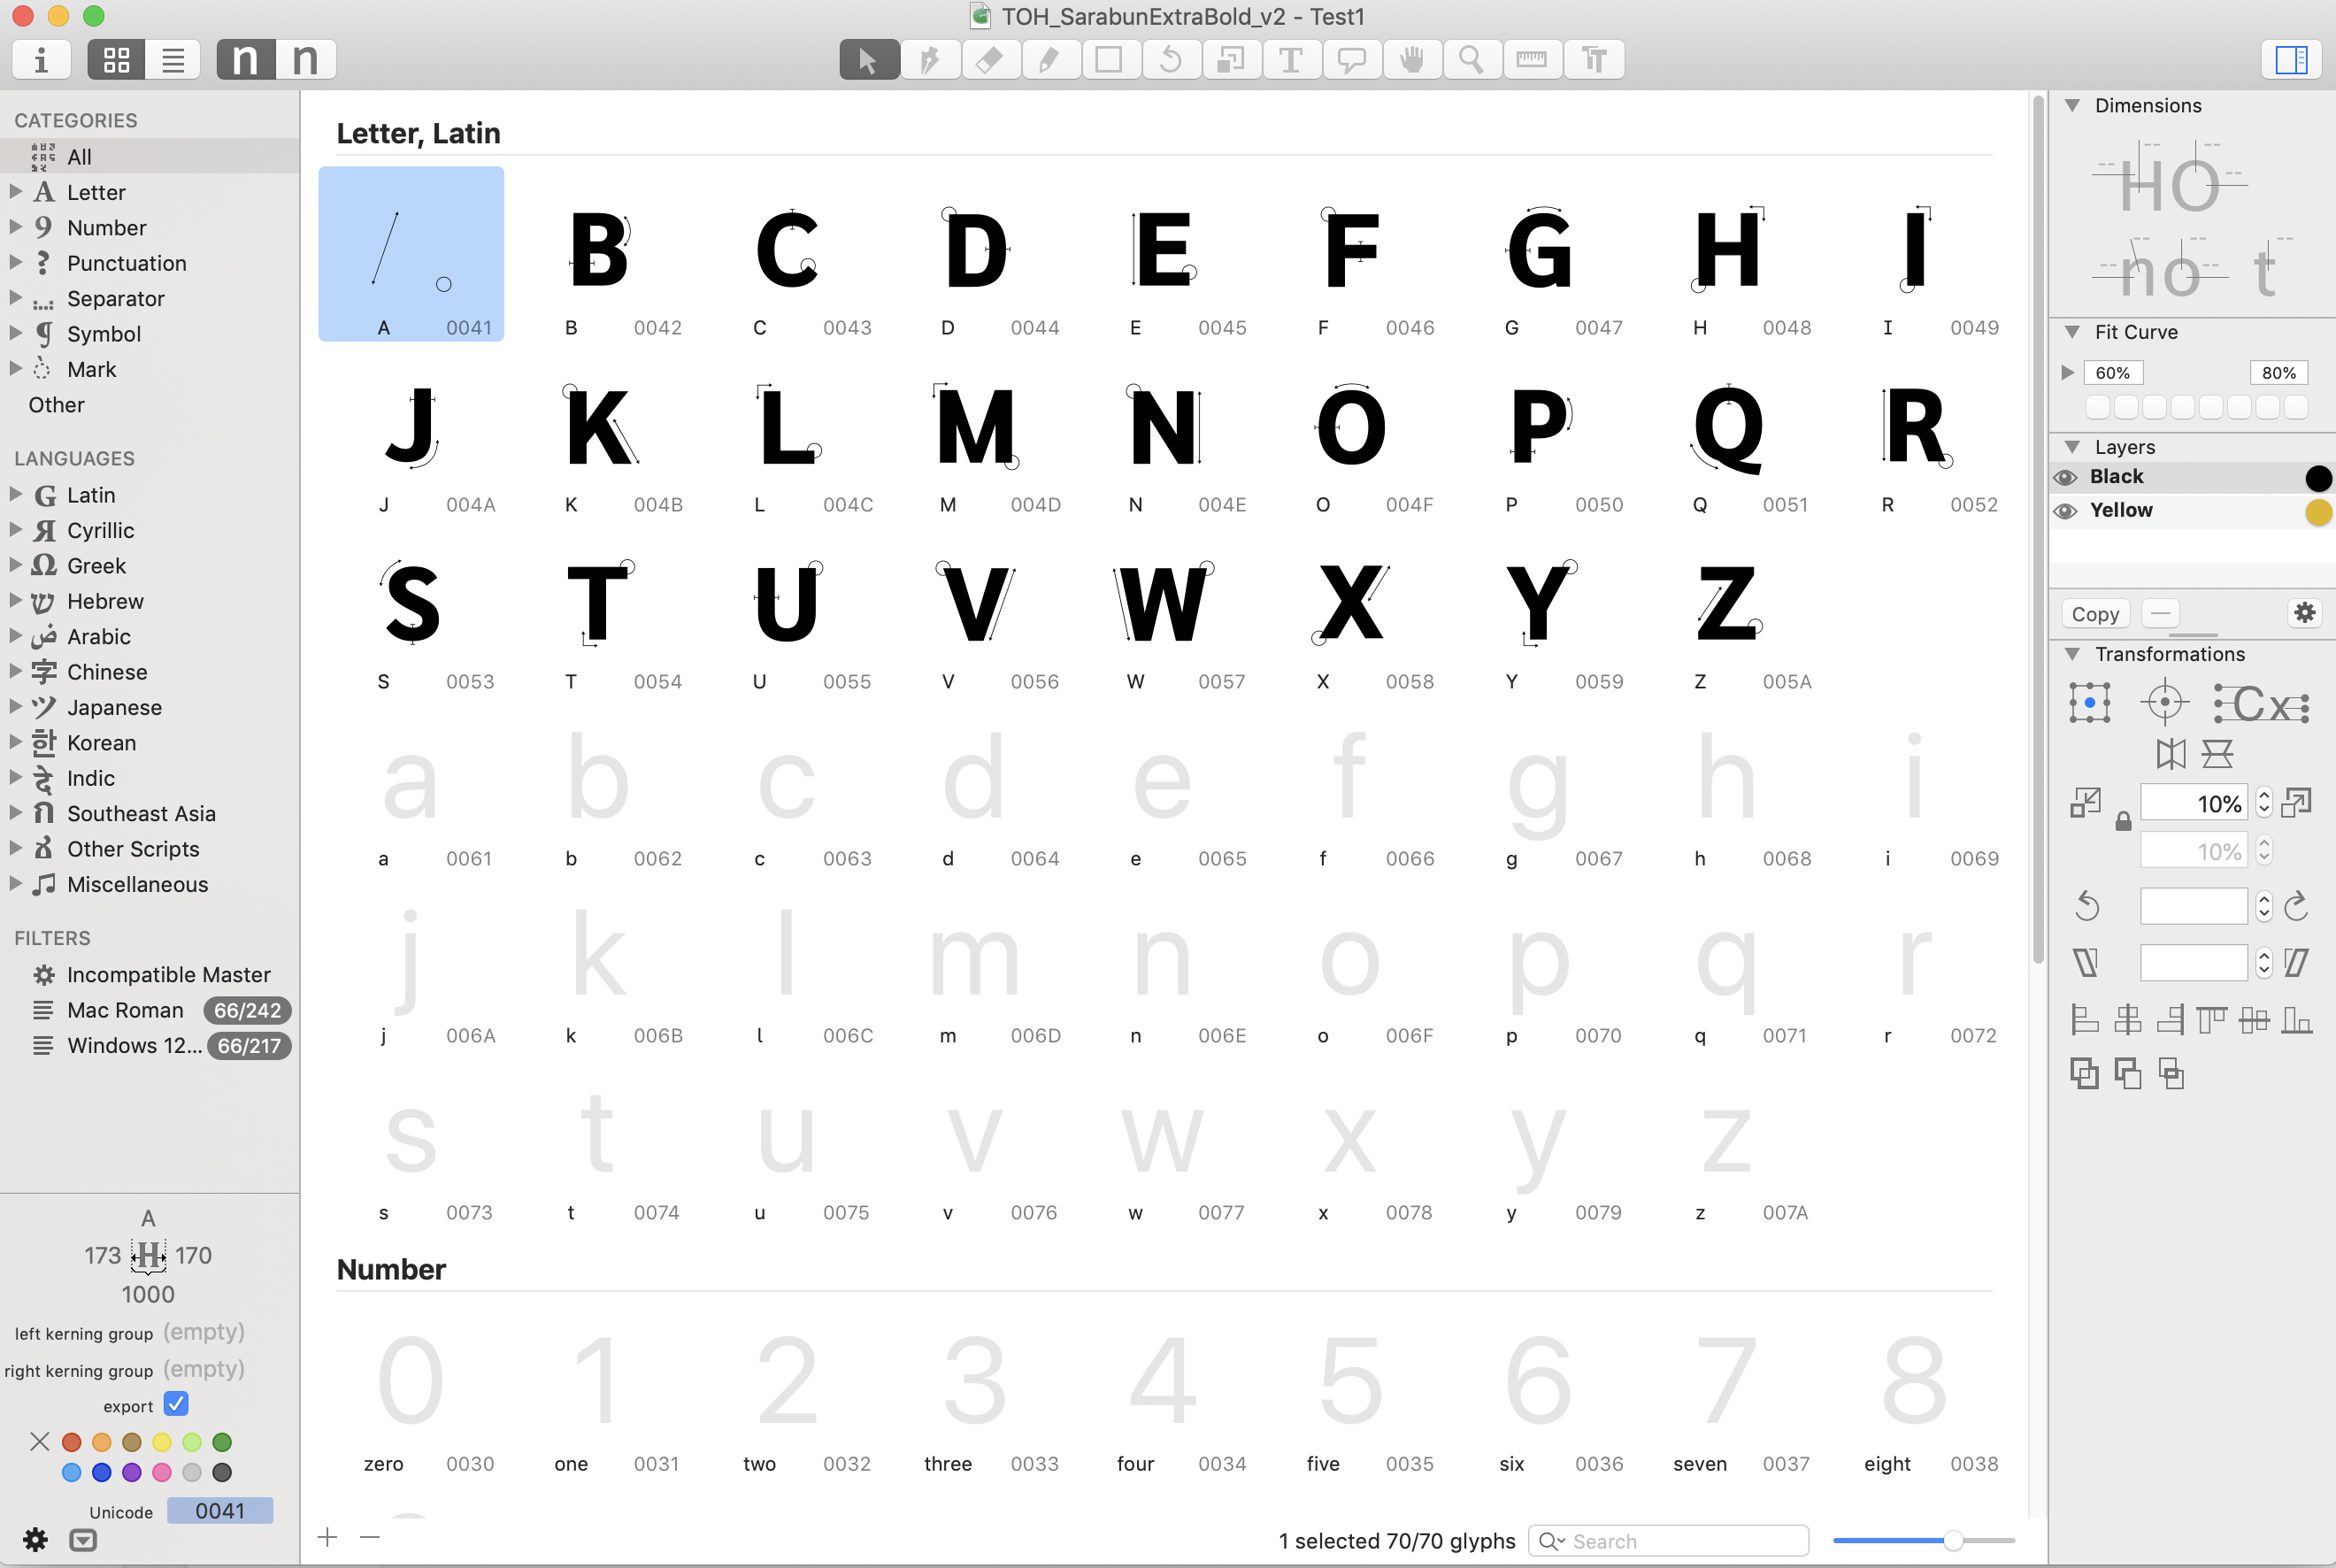
You have to put the different elements in different layers as described in the tutorial. You have two masters, assign a color for each and then paste the outlines in both and delete the path that you do not need in each.
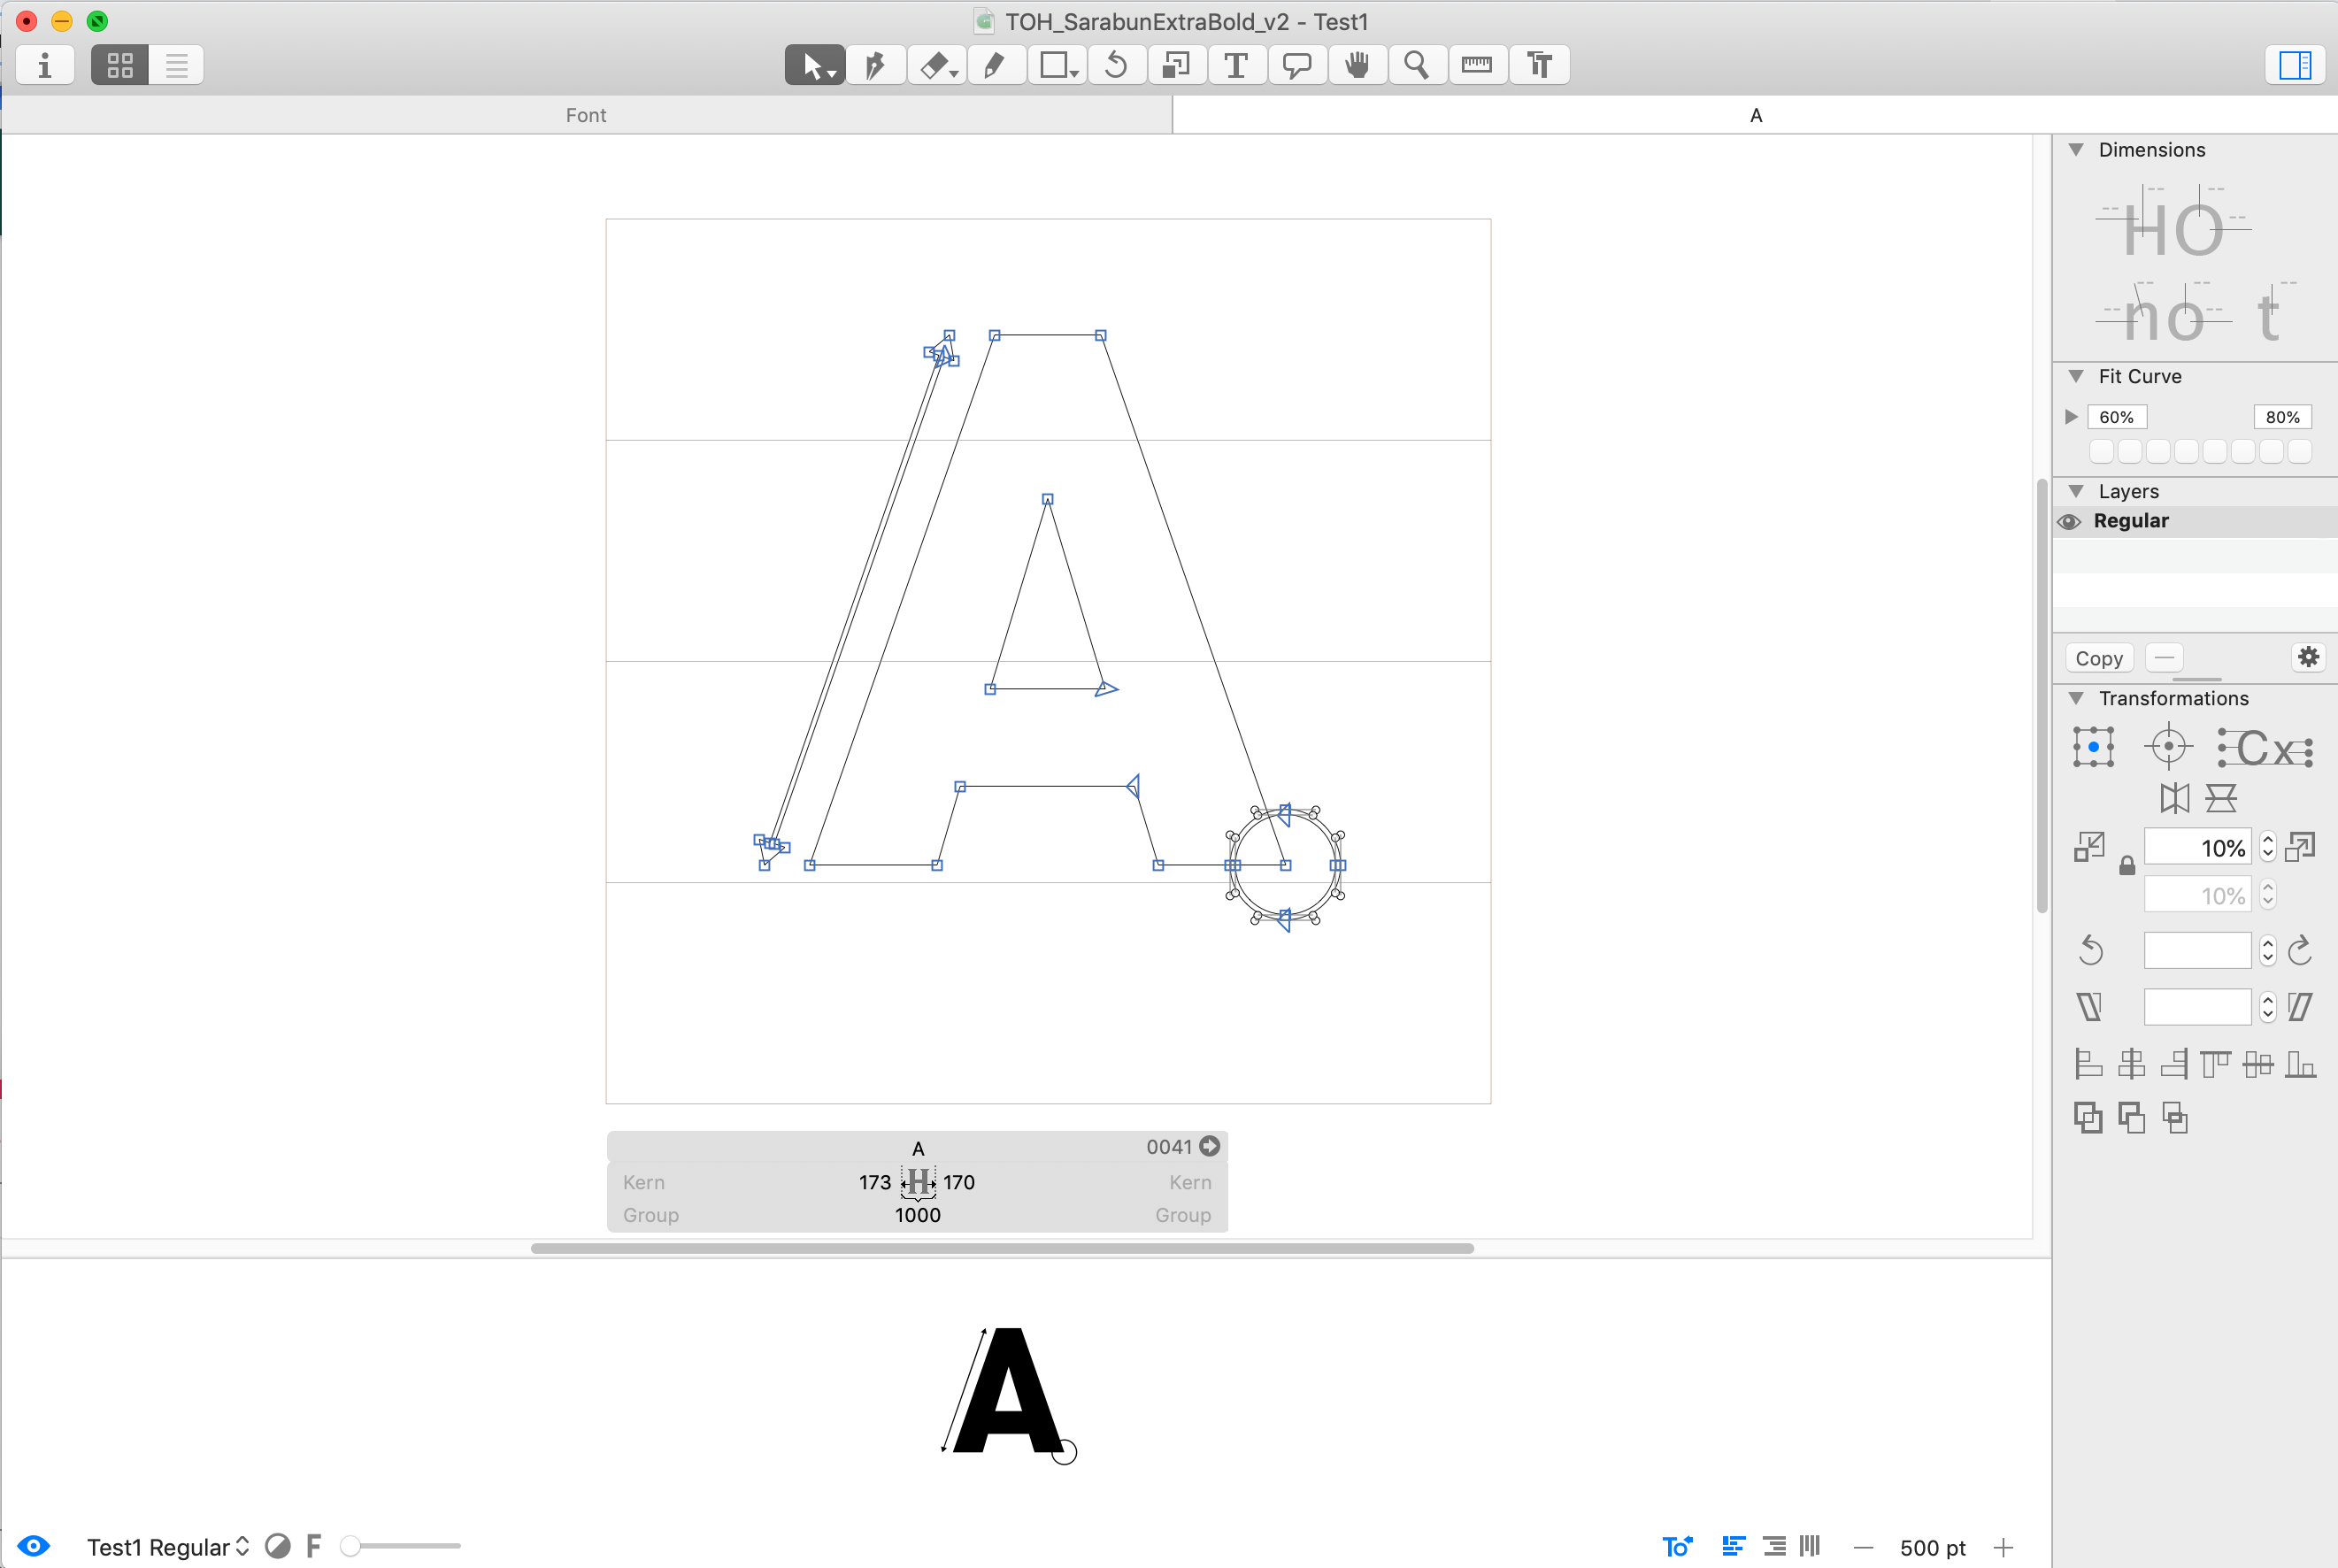
Thanks, Georg. I clicked on the second “n” in the toolbar and was able to see the entire letter. However, I did a test export and when I checked the font file, the “A” was still missing. Do you happen to know why?
For doing a layered color font, you need to export one instance per master. From what I can see in the GIF, there is only one instance in Font Info > Instances. If you want both layers, you need to have two instances, one for each color layer. I quote the tutorial:
Now, in the Font Info window, switch to the Instances tab. There, you create instances with the exact same weight values we used before. To do that, click on the Plus button in the bottom left, and choose Add Instance for each Master from the menu that pops up.
Thanks, mekkablue. I created two instances: one for each color layer. Hopefully I did it correctly. After I exported the font file, I saw that two different files appeared. Is that supposed to happen?
That depends on what you like to do with the font.
You can add a “Color Layers to SVG” custom parameter to an instance. That will give you a SVG in OpenType font that should work in most modern browsers and Adobe CC 2019.
Hi Georg, I think I figured out my exporting issues. Per your instructions, I added “Color Layers to SVG” custom parameters to my Instances and that seemed to work. Thanks again to you and mekkablue for all of your patience and help.