
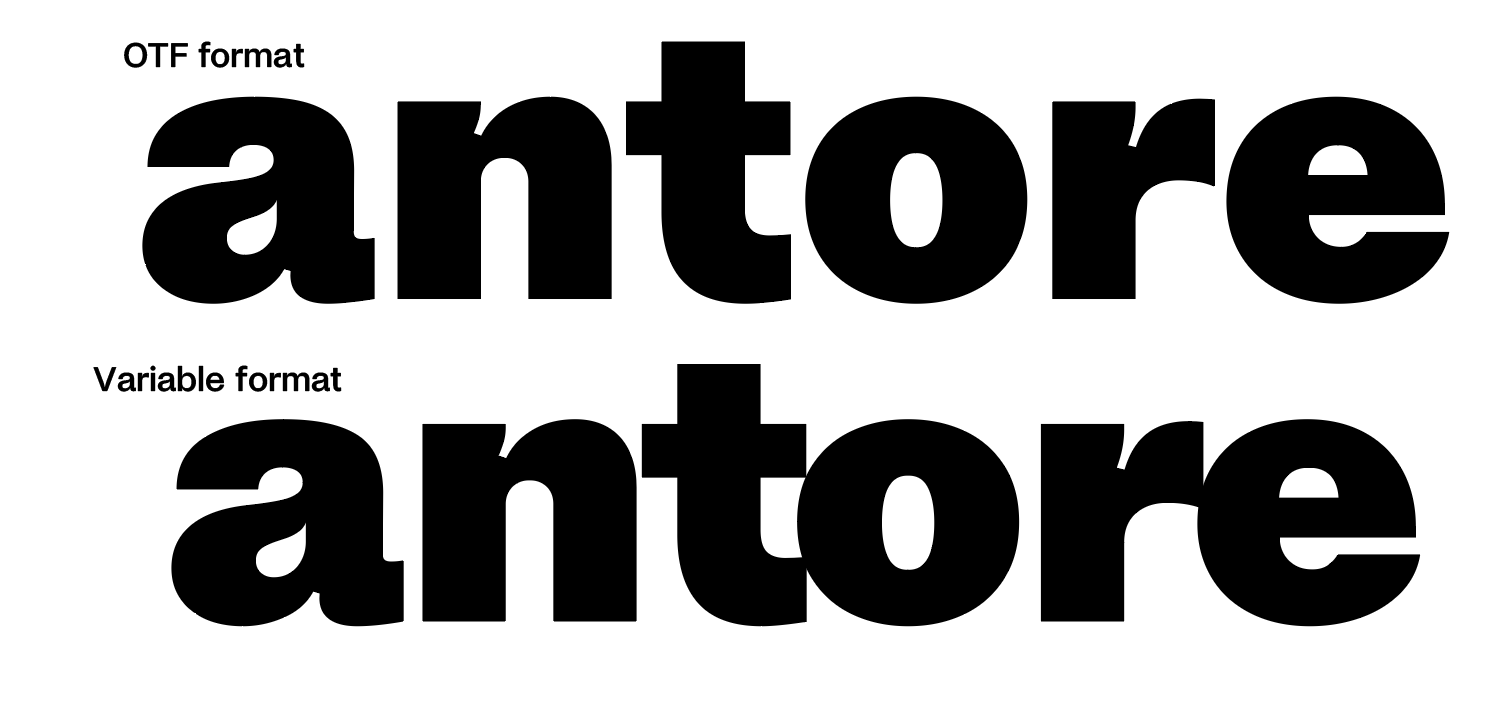
Hello guys, I’m having some problems with the kerning when I try to use my font in Illustrator/Indesign 2020. When I put the “Optical” correction in the kerning settings of Illustrator/indesign it looks wrong. This happen only with the variable format, with OTF format it looks correct. Does anyone know the reason? Thanks a lot!
I think it happen only with rounded letters with the same kerning group.
I check the kerning list and nothing is unlock in this group. I also try to change the path direction but change nothing
Optical is Adobe’s auto kerning, it ignores your kerning. Use Auto / Metrics if you expect to see your manual settings
1 Like
But Optical should normally be a little bit better then the Metric/Auto option, or not?
With my font the optical is quite terrible 
Please read this to understand optical kerning:
It also changes between sizes: tighter at larger point sizes, looser at smaller sizes.
Who says that? Most designers will respond: ‘only if your kerning is really bad.’ ![]()
ahaha yes you’re right, thanks! but why does the optical correction look so strange in the variable format, while in the OTF format it is okay? the font is exactly the same.
I suspect the optical kerning code is confused by the variable font. Maybe it only calculates for the default master?
Yes, values for all of the instances are the same.
There is this problem in the default master too.
But with the thinner cut is not so visible, is mainly in the black cut