My goal is a simple “solid” bullet font in which the letters are solid white on a background shape that has a selectable color via InDesign.
I’ve looked at a few guides as well as forum content, but haven’t found a workflow I can follow yet. I am also not sure how to correctly assign Colors/Layers and (if possible) preview it within Glyphs.
I’m also not sure which type of font to use; I thought it might be SVG, but I don’t really need any SVG files - with a few icon sets I’ve made so far, I just set up my Illustrator file & copy/paste.
I can easily build the backgrounds in either Illustrator or Glyphs.
I don’t understand why you need a color font at all. Just set a regular font to white.
Adobe apps only support SVG fonts, but SVG fonts do not have user selectable colors (like CPAL/COLR fonts do). You would still have to create the backdrop separately. And then you might as well do a regular font.
Or can you show a mockup of what you are trying to do?
Hi Rainer - These are for callouts & bullets, for example.
I’m just trying to create a white letter/number on a selectable color background so that it can be used over images & illustrations and in accompanying text. The text moves around a lot, so using overlapping text isn’t going to work.
I suppose I can make a color font that isn’t changeable, so long as I can assign a bunch of colors within the font itself. I looked at the SVG tutorial, but I’m not starting with an SVG.
Maybe you can make it two characters, the circle and the number and use kerning to move the number over the circle. And then you can format them individually. Maybe even use some GREP styles to make it easier?
I actually had an almost identical use case recently. What I ended up doing (feel free to tell me that it’s wrong): I set the small numbers to the “Mark/Nonspacing” category and added a _center anchor to them and a center anchor to the circle component. That way, typing the circle and then the number (which I subbed with the small number in an OT feature) gave a positioning of the number in the circle as per the anchor placement. Still separately selectable.
You can set it up following this: Creating a layered color font | Glyphs
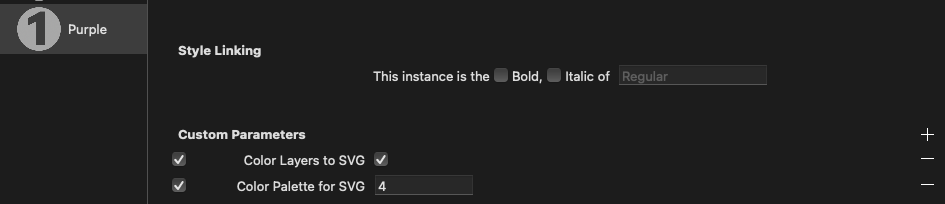
Then add a “Color Layers to SVG” parameter to the instance.
And add several color palettes with one color each. then in each instance, you can use “Color Palette for SVG” parameter to select what color to use.
But, the colors you get in the font are all sRGB. So if you need that for print and match the colors, it will be fiddly.
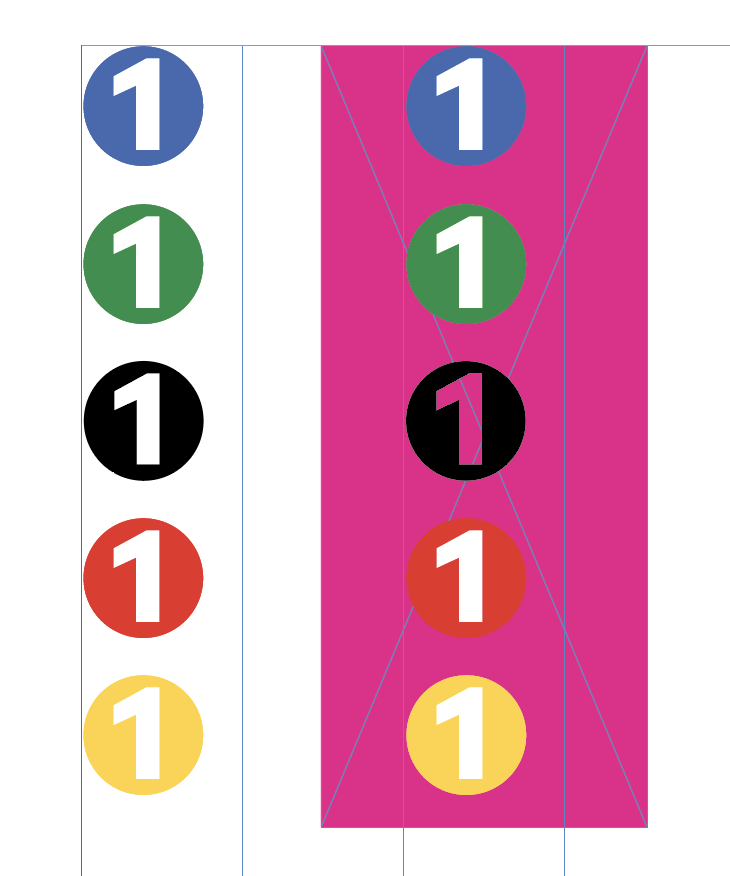
I made a small sample: ColorFigures.glyphs.zip (3.4 KB)
I would not draw in Illustrator. Draw in Glyphs directly, much faster and less copy pasting.
Hi @GeorgSeifert = apologies for the delay, as I’m just now getting back to this.
I read through the new link, but am unclear after reading through it (as well as looking at your example) if it’s possible to make a font to which a color can be assigned in InDesign, rather than a sub-set (not sure what that’s called) of the font itself.
It’s also still a mystery to me as to how the font contains four color variants in InDesign, but I only see one in Glyhphs … I’m not sure what this is called, so am not sure how to search for the functionality.
Ok - thanks. I read a bit and gained a bit more understanding - however, I tried adding a Palette for a purple color, but it just seems to export as a “standard” font - in black, and color-selectable through InDesign, with the number 1 being transparent.
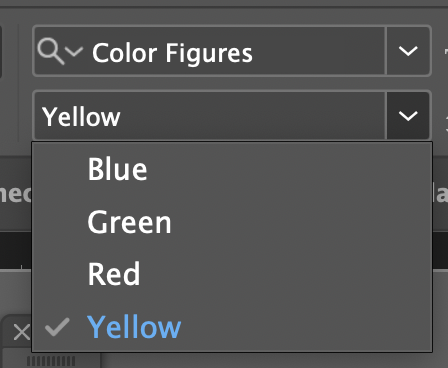
Also, when I first preview the font in Glyphs, sometimes the color shows up (red); however, upon selecting another color (or displaying all), they’re all black. I’m not sure if I’m previewing this correctly.
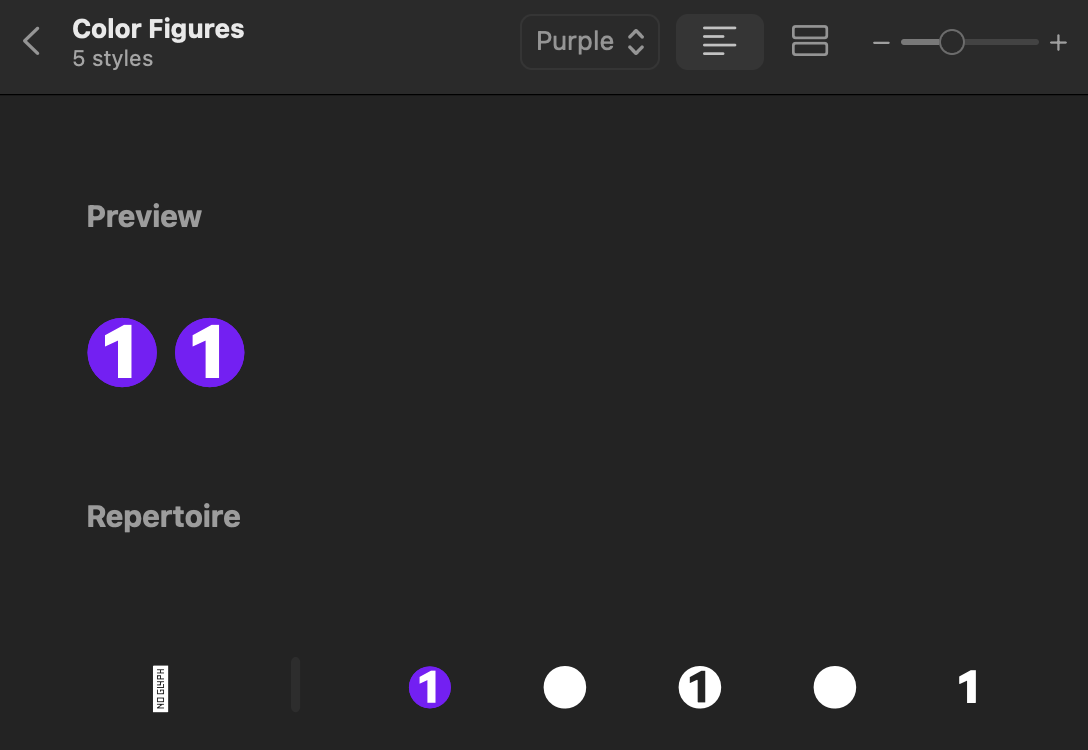
The instance preview in Glyphs doesn’t shows the colors. You need to export and check in a place that supports color fonts (QuickLook in Finder shows the purple).
How do you installed the fonts?
I exported directly to Library > Fonts. I’ve made a few other symbol sets prior to trying this, and it’s worked flawlessly, even without renaming.