Hello!
I’m working on a project and the client has requested I add a Grade axis to the variable font. The current set up is very simple, just 3 masters (Light, Regular, Black) with just a weight axis.
I have a basic understanding of how a Grade axis is supposed to work, but I’ve never actually created a font that contains one. Would someone be able to explain to me what additional masters (if any) or instances I need to create? I attempted to use the @mekkablue script “Add Grade” but when I try to run it, nothing happens.
Any insight would be greatly appreciated!
What do you intend the grade axis to do? Just change the spacing? Then check these threads:
Or do you want to change the weight without changing the metrics? See the discussion here: A variable font with two axes (one virtual) with the same Masters
Be sure to check the Macro window for details on what went wrong. Did you enter the correct instructions in the script UI? You can use the ⟲ arrows to automatically set the instructions, then the script should run.
I tried the script, however, and I don’t see a difference when selecting “Adjust advance width”. The metrics for the newly generated master are the same as the ones of the master it is based on. The anisotropic interpolation option also yields no difference. Maybe @mekkablue could have a look at the script again (although I think there are better solutions out there, especially if you just want to adjust the metrics, as described earlier)
Thanks for the response @SCarewe.
From what I understand, they’re hoping the Grade axis will allow them to adjust the stroke thickness without affecting the type’s width, spacing, or kerning. For instance, they could make the type thinner without the layout and line breaks changing.
I tried reading through this discussion:
But they don’t seem to reach a solution.
Off the top of my head, I would do the following:
Based on the masters in your font, add masters with adjusted weight (let’s say, ±5) for each existing master (create an instance with the desired weight, then click Instance As Master in the + menu). Then add a “Link Metrics with Master” custom parameter pointing to the original weight master. That will ensure that kerning and metrics will be identical.
Reading the thread I linked previously, that is exactly what is advised there.
I wonder if there’s a way to use the Grade axis to point to some location on the weight axis without additional real masters? Something like this:
Grade 0 = Weight 0
Grade 100 = Weight 110
I’ll upload a video for Add Grade soon.
If you have a weight axis, it should add or overwrite a master. Can you post a screenshot of the window with the settings you used?
Thanks for the response @mekkablue .
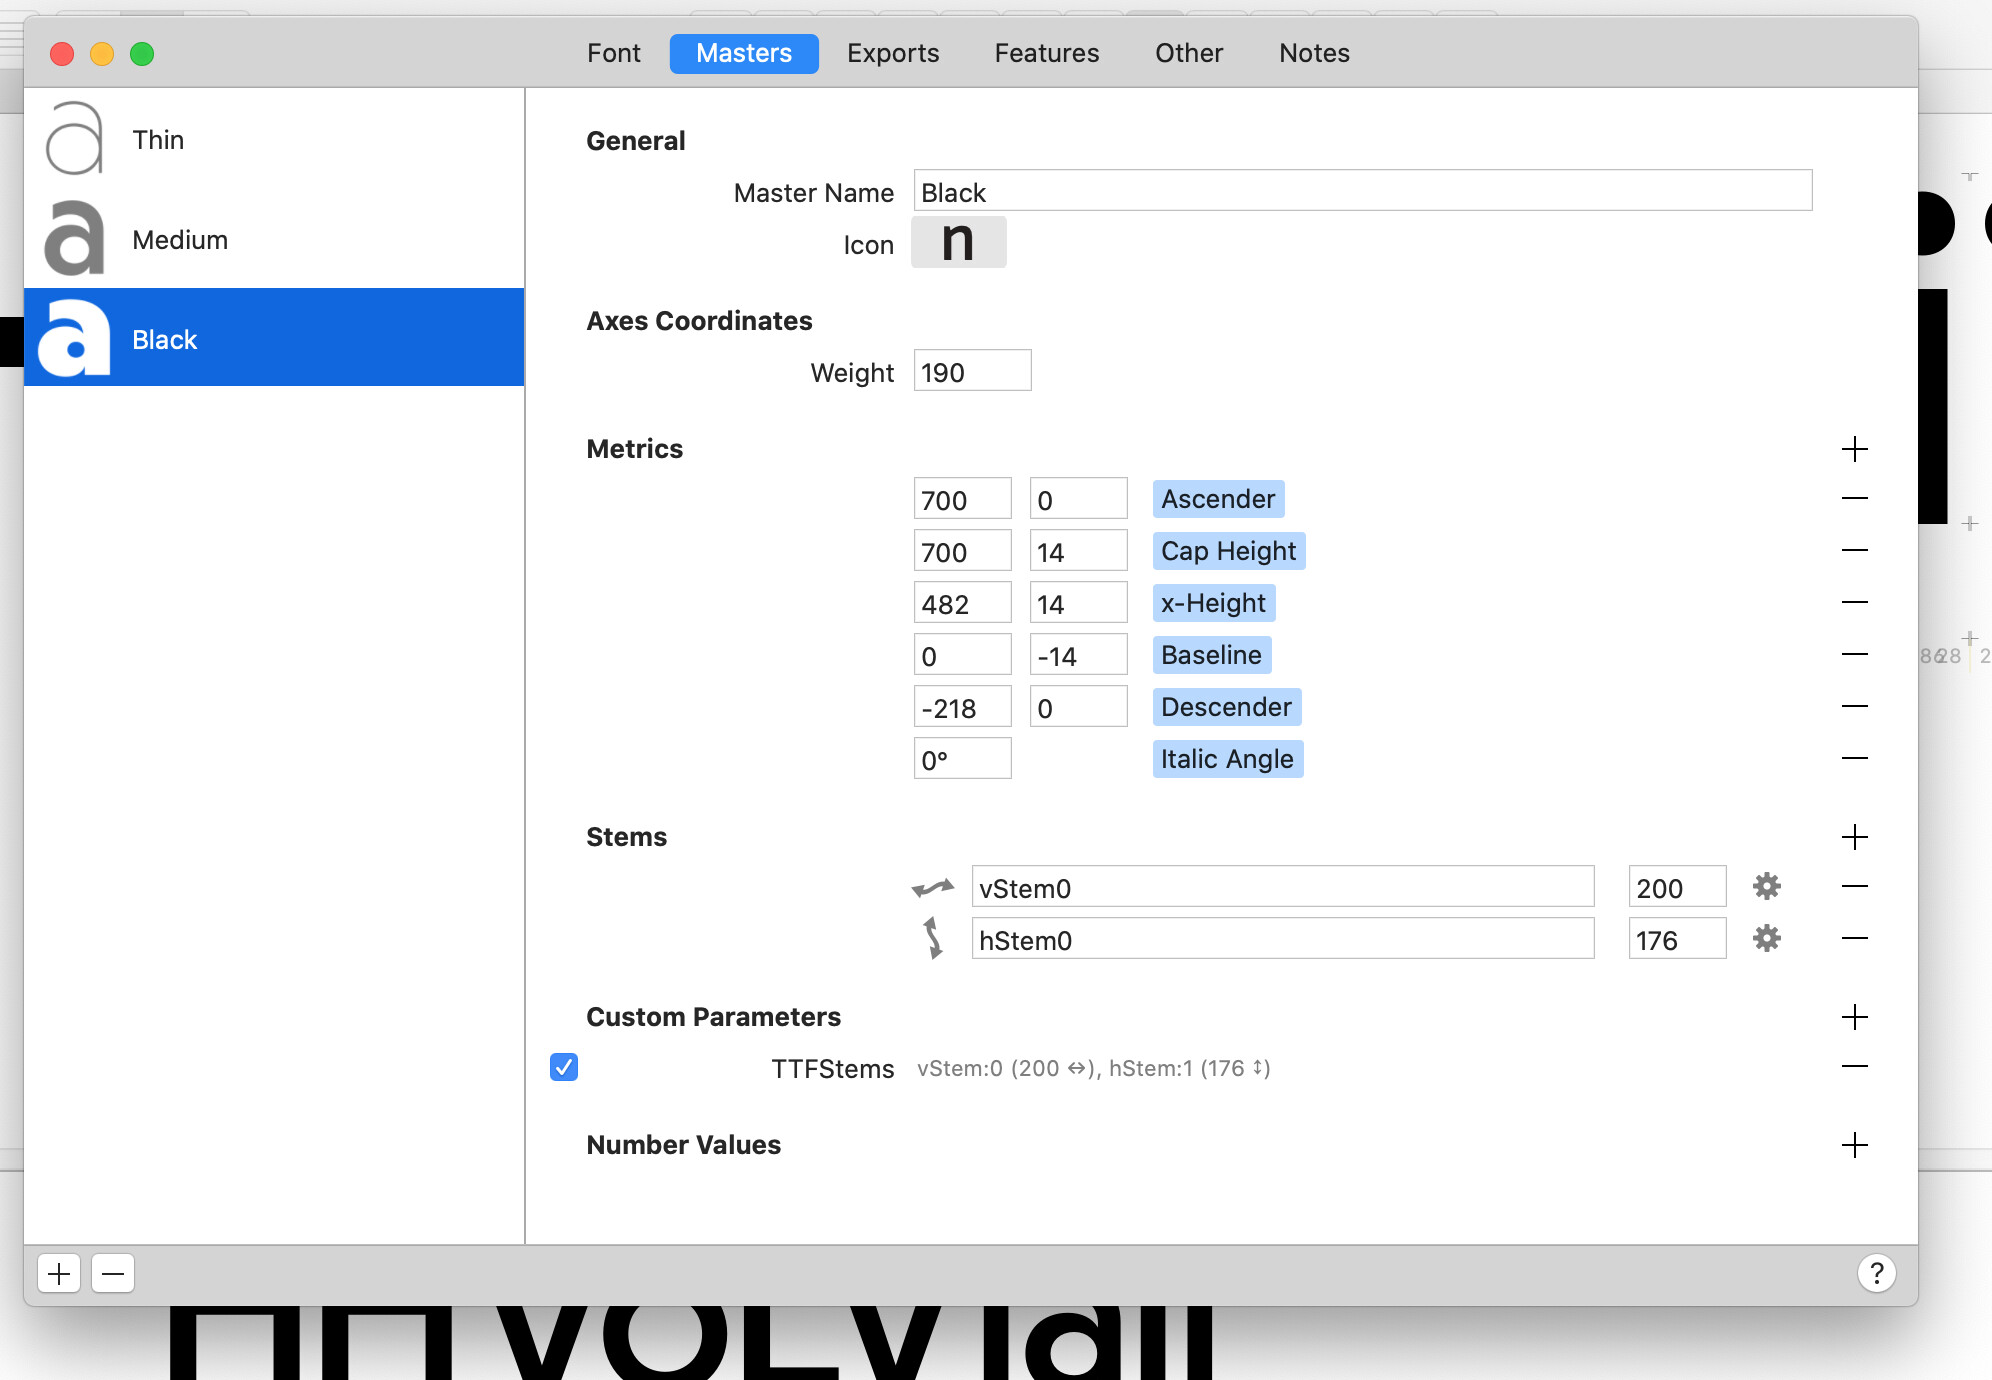
Yes, I do have a weight axis. Here’s my how my masters are currently set up:
When I try to click the “Add Grade” script, nothing happens at all. I don’t even see the UI.
All of the other scripts in the mekkablue collection work well. I just can’t get this one to respond in any way.
As I said, please check the console output in the Macro panel. That will give you an indication as to what isn’t working.
Sorry about that. I meant to include that information. Here’s what I see in the Macro panel:
Traceback (most recent call last):
File “Add Grade.py”, line 614
AddGrade()
File “Add Grade.py”, line 301, in init
self.w.weight = vanilla.ComboBox((inset+indent, linePos-1, -inset-25, 19), self.weightValuesForCurrentFont(), sizeStyle=“small”, callback=self.SavePreferences)
File “Add Grade.py”, line 364, in weightValuesForCurrentFont
axisID = wghtAxis.id
AttributeError: ‘NSKVONotifying_GSAxis’ object has no attribute ‘id’